back in the day many fitted a 3 speed speco floor shifter to there eg xa sedan from 3 on the tree to 3 on the floor,was very popular conversion back then and looked like a top loader set up.
when My EB was blowing black smoke off, it was due to a hose off.. vaccum hose maybe from the map sensor or PCV etc.
i think the O2 sensor sees LEAN(due to massive air leak) and richens the shit out of it...
the LPG may not run because they don't like vacuum leaks.
that give's you something to look at until someome more familiar can chime in hopefully
My ute doesn't have, and has never had AC so can't help with that much. It is a 89 model so has EST, and did have plenty of emmisons rubbish that I've removed
Overview
These are either for AC (never fitted) or a PTC heater that was definitely on early 3.3L and I've heard some late model 4.1 had them as emmision control? It was basically a heated element for while the car was cold. Either way mine doesn't have it there.
Fuel cut off solenoid. Closes off the fuel circuit when car is off to prevent anti-run on. Will run with it disconnected, won't idle, and runs poorly.
Red wire from carb is the throttle position sensor/switch. Pretty sure it only knows if throttle is on or off.
Yellow wire is 7V supply to auto choke from carb. Only hooked up for this photo I have the choke wound way way way off and the yellow wire off normally.
This shows dizzy plug, on the dizzy itself, temp sensor wire (red one going to front of motor) and another emmisions connector, something to do with charcoal cannister I think.
Another connector here for something. No idea what.
Left to right connector, Black A/C?, Yellow 7 volt for weber choke, brown ?, red w/green line would be weber fuel cut solenoid.
2 pin plug if red w/green line, & pink w/blue line is EST coil wiring,
connector near dissy is canister purge valve,
OHC is known for chewing gears from the distributor or aux shaft after changing distributors, bosch made a revised slight bronzed gear to help this. Best is to fit original gear to new dissy,
I modified a EL dissy to fit xflow, removed the std gear & fitted a Crow DG2 xflow dissy gear & drilled the shaft to suit for the roll pin,
It ended up with it not fitting at time of assembly, was sitting about 5mm above block & went with EST, then when changing from EST to XF mag dissy, I realized I had forgot about aligning the oil pump drive when i was fitting the EL dissy. Can also delete the TFi module & change to EST plugs for easier wiring with MSD.
I might put the EL dissy in my xflow on the stand to make sure 2moro.
EL vs XF dimensions
you won't need a 4 speed auto, unless it's got lower diff gears(unlikely if it came as an auto will be 2.92 ratio.
if the 3 speed auto is good, leave it in there.(a stronger upgrade if you can find one is a C4 auto some of the 6cylinders had, rare even 10yrs ago)
4 speed autos are only on the overhead cam engines, different bolt pattern to the engine, and need a computer as they are electronic. and wouldn't work well with the current diff ratio either. (they only had 3.08, 3.23/3.27) from memory.
it will sit on 2300-2400 ish rpm at 100kmh all day every day forever at that.
if you decided to modify it, then you'd look at a driveline from a donor vehicle(barra from BA onwards etc is popular these days.. but it's not easy and i wouldn't do it)
i'd stick with the crossflow personally.. good reliable SIMPLE engine, can change a starter motor in 4 minutes and an alternator in not much more time
E-series have a micro-switch in the boot/liftgate latch mechanism from memory.
XD-XF sedans have a push-button switch (same as the door switches) underneath one of the boot lid hinges.
if you google enclosed pod filter, they are compact and should be legal(check first)
if you want a factory air box, the commodore VN one is compact, that's what i used on MY XE with 1uz engine, modded slightly with outlet positions etc.
I've got a Protec water pump and be fucked if I can find bolts to fit to bolt the pulley on with! The originals don't fit, so I grabbed some M8x1.25, which should have been the metric equivalent, and they don't fit either! So now another 60k round trip into town to try again!
Fuck me!! Just make the bloody things the same as the originals!
Not sure what happened to the video. Doesn't matter, got it sorted.
And todays progress. Wrong sump gasket, so didn't get that on.
Got the fuel pump, water pump etc. on. Bolted the manifold on and sat the carby and air cleaner on there for a looksy.
Went with a 9x3" setup. It will sit up higher when I put the Aussiespeed east/west adapter on there. I want it poking through the bonnet and I'll make a new bonnet scoop to cover it.
This video should work.
https://www.facebook.com/rod.walker.520/videos/10158558189089516/
I've got a tall Aussiespeed rocker cover coming as well. Not sure if I will paint it gold or leave it raw alloy.
The odd thing about this manifold is that the carb mounting pad is angled??? There are no markings on the manifold other than a firing order.
The Italian made Weber 34adm Carburetor, was factory fitted to XE/XF Falcon 6cyl, Ford F100-350's and Ford Bronco 6cyl.
It existed as factory fitment, from mid 1982, up till March 1993 - when the XF Falcon commercial range ended, and the XG Falcon was launched.
The stock 34adm carby, has a flow rate of 230cfm. (see flow test pic, further down)
For an easy upgrade, a 38/38 Weber carburetor has a 390cfm flow rate,
and bolts directly to the stock intake manifold.
The purpose of this thread, is to have Technical and Parts info for the Weber 34adm Carburetor, all in one location.
I will edit and add to this first post, as I find further info.
If anyone has any additional info on these carby's, they're most welcome to add it into the thread.
1. Throttle nudger: On the XE/XF Falcons this is used to hold the throttle open slightly during an overrun condition by applying vacuum at the hose fitting. The screw in the top sets how much the throttle is held open.
2. Accelerator pump accumulator: Receives the fuel charge from the accelerator pump and controls the discharge rate of the fuel into the air stream.
3. Fuel inlet fitting.
4. Fuel filter plug. There is a small plastic filter under this plug.
5. Fuel return. On some models this is used to return fuel to the fuel tank when item 6 (below) is fitted.
6. Fuel return solenoid fitting. On some models there is a solenoid screwed into this fitting that energises when the throttle is closed, allowing fuel to return to the tank when at idle.
7. Idle solenoid. Allows fuel to flow in the idle circuit when this solenoid is energised. +12 Volts must be applied to this solenoid when the ignition is switched on.
8. Power bypass circuit actuator diaphragm. Allows fuel to flow in the power bypass circuit when low manifold vacuum is sensed.
9. Accelerator pump lever.
10. Electric automatic choke mechanism. Under the green plastic cover there is a heater element and a bi-metallic spring. +12 Volts is applied to the threaded stud in the centre when the ignition is on. The heater element heats up and in time, causes the bi-metallic spring to rotate the choke shaft, causing the choke to open. Loosening the three screws allows the cover to rotate, to adjust the choke to the correct fully open position after warm-up.
11. Fast idle screw. Adjusts the fast idle speed. Operates whenever the choke is partially closed. There are several steps of fast idle due to the operation of a stepped cam inside the choke mechanism. Adjustment should be made for fast idle on the first step after a cold start. Do not use this screw to adjust the normal idle speed.
12. Choke pull-off diaphragm. Cracks the choke open slightly as soon as the engine starts. Under the small brass plug at the centre there is a grub screw that adjusts how much the choke is cracked open.
13. Accelerator pump. Pumps fuel into the air stream, via the accelerator pump accumulator, during hard acceleration.
14. Idle speed screw. Adjusts the idle speed. To be adjusted only after the engine has reached operating temperature, and the choke is fully open.
15. Vacuum advance connection. Connects to the distributor vacuum advance diaphragm.
16. Idle mixture screw. Adjusts the idle fuel/air mixture.
Stock jetting for 3.3l and 4.1l Crossflow Weber 34adm carburettor-
First stage Idle: 60
Second stage Idle: 70
Primary Fuel: 135
Secondary Fuel: 210
Primary Air: 160
Secondary Air: 160
The following jetting, apparently gives excellent throttle response, very smooth idling and excellent pickup on secondaries -
(stock 3.3l Crossflow Motor)
Weber 34ADM carburettors, have a 2 stage low speed jet solenoid.
This was an emissions control system, which allowed the engine to run with one jet size when cold (70)
and when the engine warmed up it switched to a smaller jet to reduce emissions (55).
As the idle jet vacuum solenoid ages, the little diaphragm inside fails allowing - fuel to flow from the primary low speed circuit through the failed solenoid
and into the line that supplies vacuum to the system.
This causes the engine to run super rich.
Products which can solve the problem can be found at the below links,
comprising of a larger jet holder, which deletes the solenoid and the appropriate jets to go with it.
You may need to mess around with the jets to find the right one for your engine
Here is a picture of the system on the standard carb
and of another of the carb, with the idle jet solenoid system deleted.
You will note all the vacuum ports except the vacuum advance are capped off, deleting the emissions control systems
(EGR etc).
This pic shows the throttle nudger, which is supposed to hold the throttle slightly open momentarily if the throttle is snapped shut suddenly to smooth things out.
On some models it may also have been supplied vacuum as an idle up system for air con etc.
The diaphragm can fail and cause a vacuum leak and most of the carb rebuild kits don't include this particular diaphragm.
The vacuum port for the power valve is in an odd place on these carbs and some off the shelf adaptor plates will blank it off causing the engine to run on the power valve all the time and run very rich.
The port is actually under the base plate and is not open to either of the carb barrels.
If this port is omitted, vacuum will not be supplied to the power valve or the accelerator pump boost diaphragm and the carb simply wont work properly.
If you look at the underside of the carb you will find the port (it might even be blocked with crud).
The port is located between the primary and secondary bores and continues up through base and into a tube in the carb body.
The tube also acts as a locating dowel and can sometimes become damaged and obstructed if the carb hasn't been assembled correctly at some stage in the past.
Further useful info can be found here -
http://www.mbs.id.au/tuning/Carburettors/Weber/34ADM.htm
There are five springs in total fitted in this carb. By process of elimination you can work out several of them but some are interchangable and if fitted incorrectly will cause mixture problems. So keep the springs with their correct counterpart.
Shown are the vacuum passages to the power valve diaphragm and the boost accelerator pump. When vacuum drops to a pre-determined level the power valve diaphragm is pushed into the power jet which opens the ball to allow more fuel into the main circuit. Also the loss of vacuum applies an extra amount of fuel to the accelerator pump circuit over and above what the accelerator pump diaphragm will deliver. This will usually occur when the second barrel is opened suddenly. The different spring length & tension will operate these devices at differing vacuum settings.
The vacuum to the power valve & accelerator pump boost diaphragms is supplied through this tube. The vacuum port continues down through to the base of the carb between the primary and secondary bores. The tube also acts as a location dowel. It is long enough to pass through the thick gasket and into the base. Now what can happen is that if you don't line up the dowel perfectly to the base and you attempt to tighten the base screws then the tube can be pushed further into its bore in the body of the carb. The end result is a blocked vacuum passage. This will result in a rich cruise mixer and a hesitation when the second barrel opens suddenly. To check that the passage is unobstructed, place you mouth on the tube and suck or attach a tight hose and suck on it. It should feel easy to suck through. If not then this is what needs to be done.
Remove the tube and the easiest way to do this is to stick a drill into the tube, then use a small pair of vice grips to grip it and twist it out. Cut a slot into the tube and then refit it back into the hole. Make sure the slot lines up with the vacuum passage and the tube protrudes through the thick gasket so it can line up with the base. The slot does not have to be as long as in the photo. If the tube is fitted at the correct depth, this mod would be unnecessary.
Ok, had a think about it and looked at my project list. Thanks to everyone that replied. Lots of good advice, especially from @slydog . I think I will go back to Plan A and build a decent carbied motor.
I'd love Triples Webers, so will start looking at what I need for that. I'll start a thread in the Crossflow forum for that.
I've got three Dodge AT4s here that I am going to start work on at Christmas. Got a 318 for my 114 and will look at another 318 or bigger for the 329 I am building for my wife. Third truck is a donor cab for my 114 as its cab s rusted out.
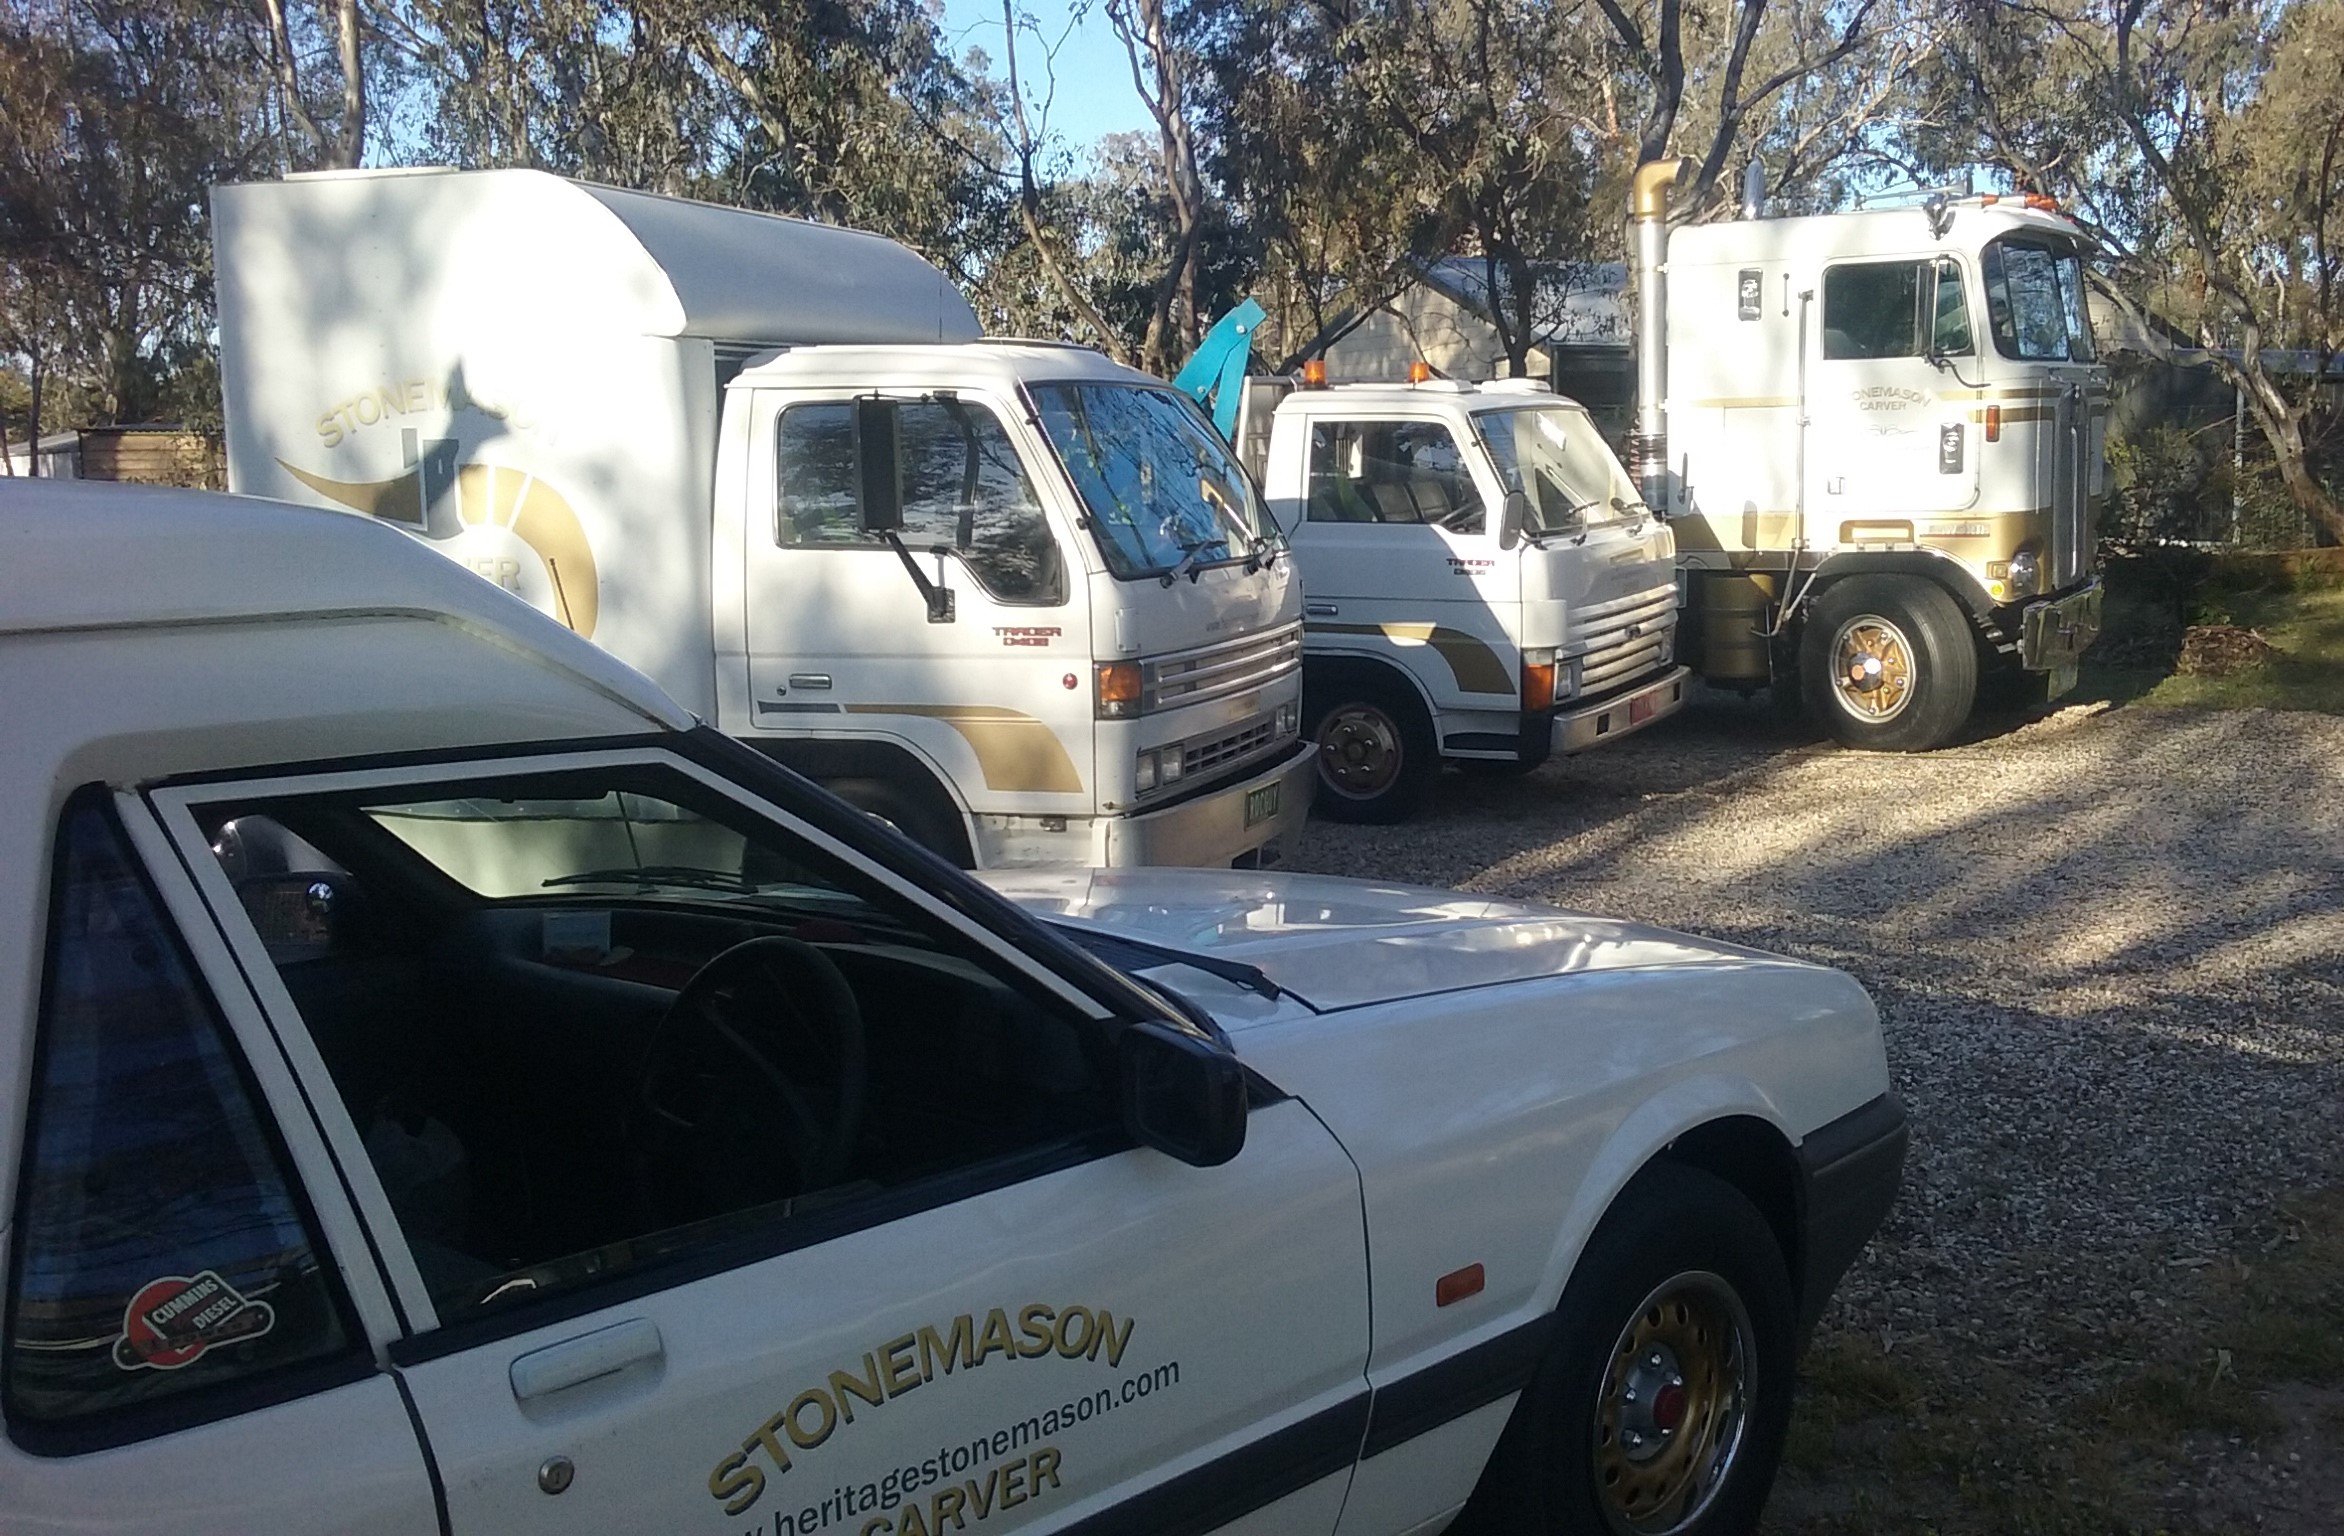
Rat Ute in work sitting next to Rat Rod going to be.
Yes it is........ Why do i need a Victorian Drivers Licence, when I already have one in SA? I can travel around Australia, anyday, anytime, without stopping at border control. Cant have a 6/71 sticking out of the bonnet, but, allowed to have an iPhone, and a SatNav stuck on my windscreen that distracts me, as well as blocking my line of sight. Don't get me started on the different speed limits in all the states and territories.
Yep it is a 57 MF and knew It would have the posts on the wrong side but it was the only Century that size with 560 CCA available at the time.
The old battery had a really short tight negative lead anyway which I wanted to replace so decided to do it this way. I was more concerned about the inside of the bonnet hitting the Neg battery post but bought some rubber post covers as well. (not shown)
I like the Aussie made Century's
Looks fancy!
Century batteries are the only car batteries still made in Australia.
It's the wrong one for an XF though - that's why the negative lead is/was tight.
That looks like a 57MF Commodore battery.
XK-XF Falcon, have the terminals on the opposite side (mirror image).
The Century catalogue listings seem to be incorrect for x-series - they list a 57EF MF (EF/EL battery) for the entire x-series range.
The closest I can find, would be a 58MF (EA Falcon battery) - which has the correct ledge for the battery clamp, plus correct terminal orientation,
but not the XF style - bolt through terminals.
The correct battery in Exide is 53C, and NS50 was the Century part no.
Century and Exide don't seem to list a correct battery for x-series anymore! 😲
Yep battery was stuffed. Got the train into Albury on Sunday where Autobarn had a sale on Aussie Century stuff so score $50 off, lunch at the station and train-ed (15kg) it back.
Fortunately the alternator is fine and charging within spec. Some wiring terminals replaced as well. Replaced the battery to Alt. earth cable as it was a bit tight.
re. the speedo needle, I've learnt something new.
Thanks everyone.


 roKWiz reacted to CHESTNUTXE in Is it possible to make an xd ute a floor shift from column?
 roKWiz got a reaction from motoSycho in New Motor for Rods Mad Maxy Ute
 roKWiz got a reaction from deankxf in XF Dud battery no start speedo question
 roKWiz got a reaction from macman in XF Dud battery no start speedo question