


XFH00N
-
Content Count
33 -
Joined
-
Last visited
-
Days Won
1
Posts posted by XFH00N
-
-
ok time for the pics
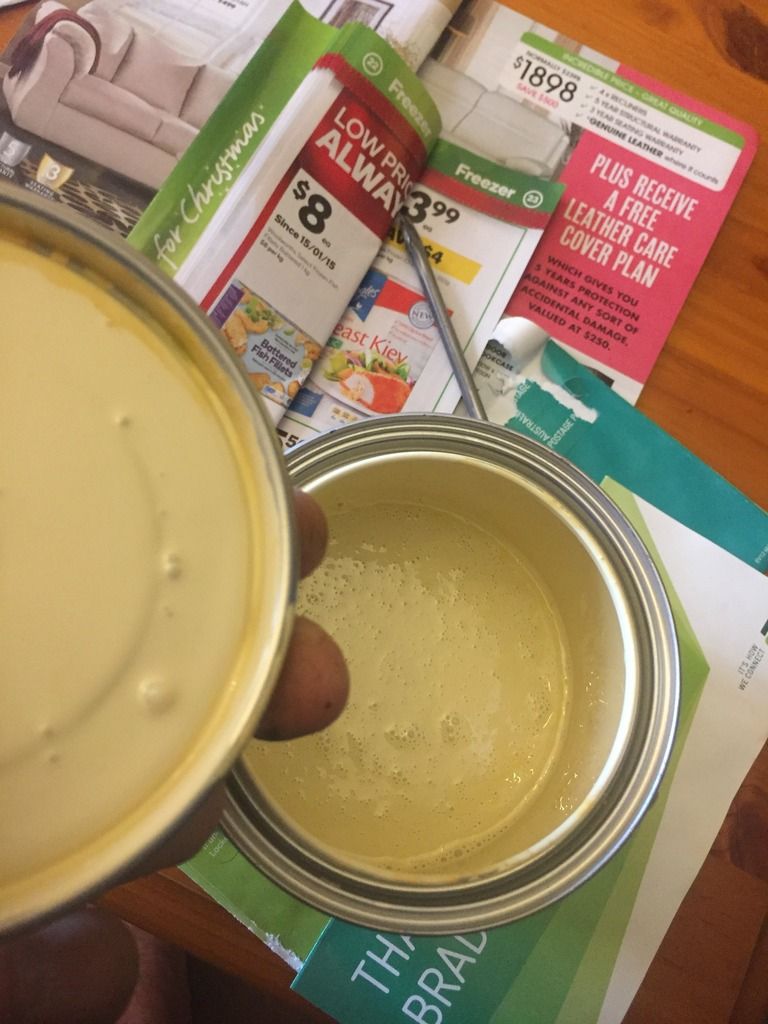
Colour preview
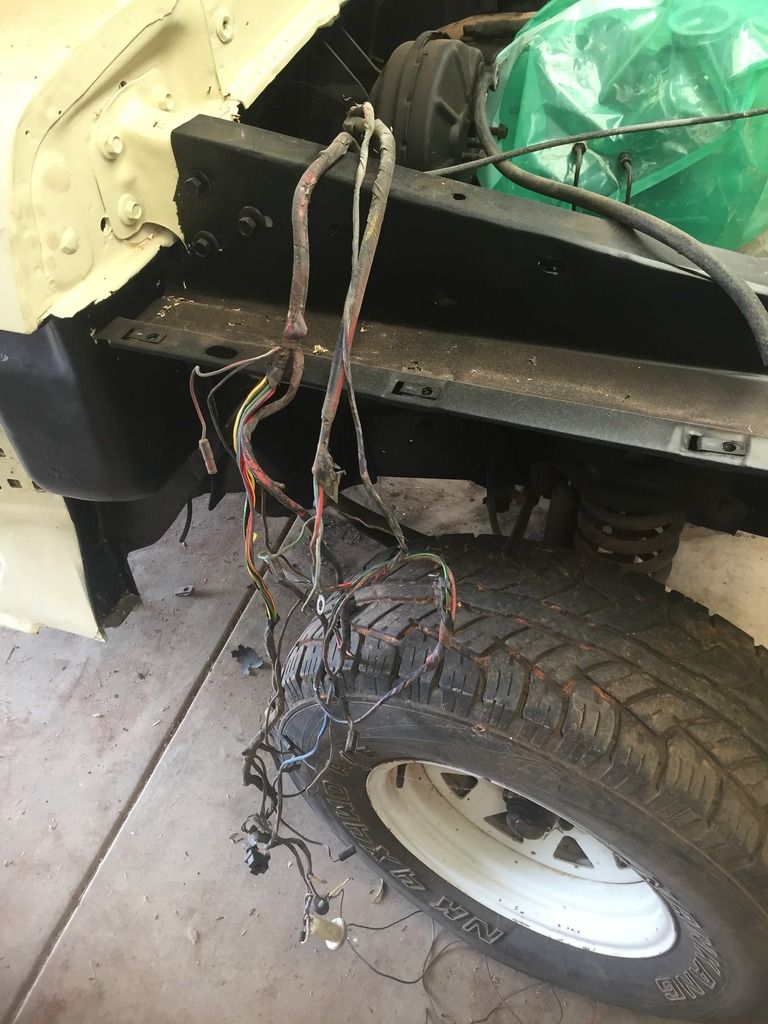
Half of the loom. More on the other side of the bay
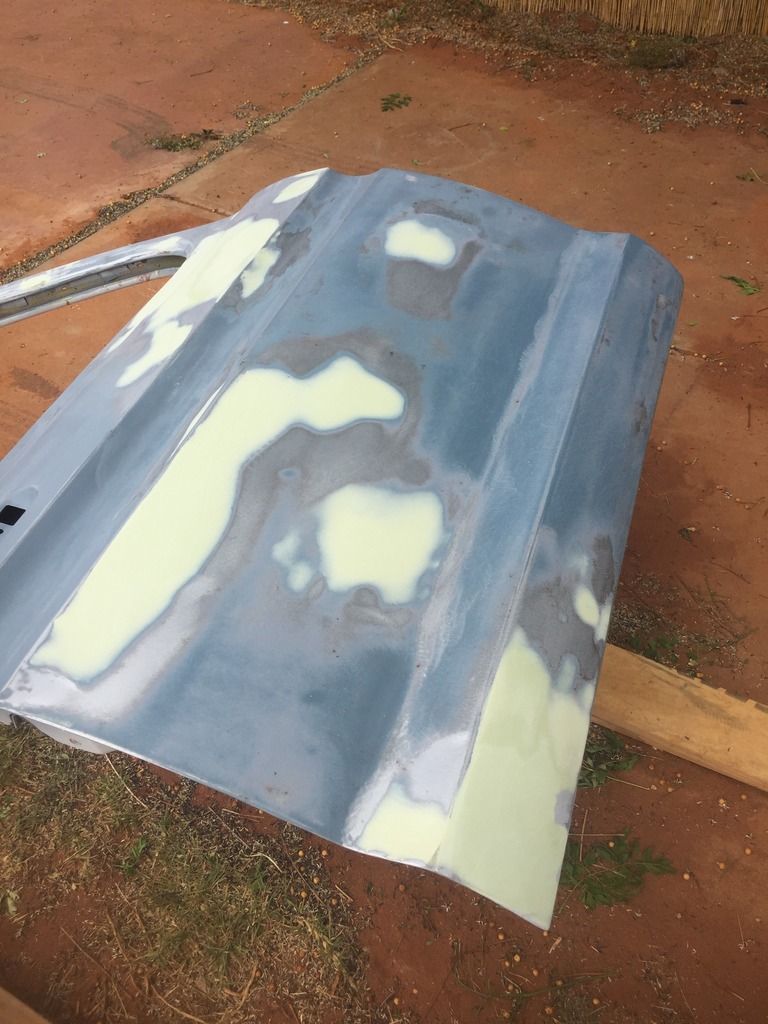
Door prep
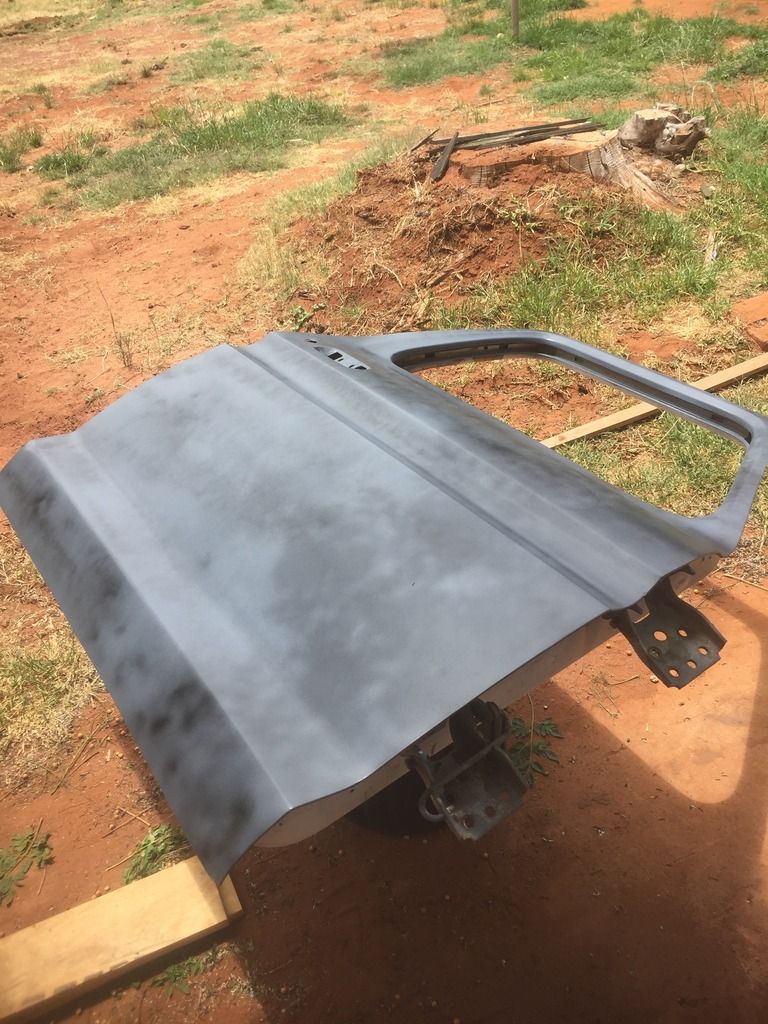
Door in epoxy
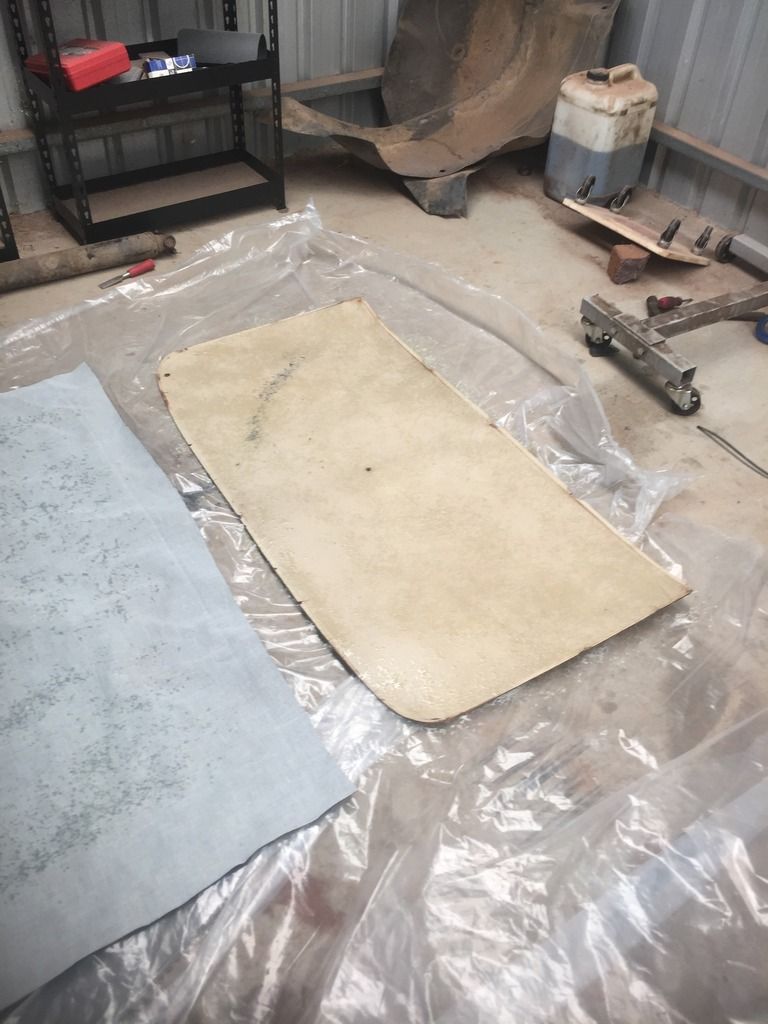
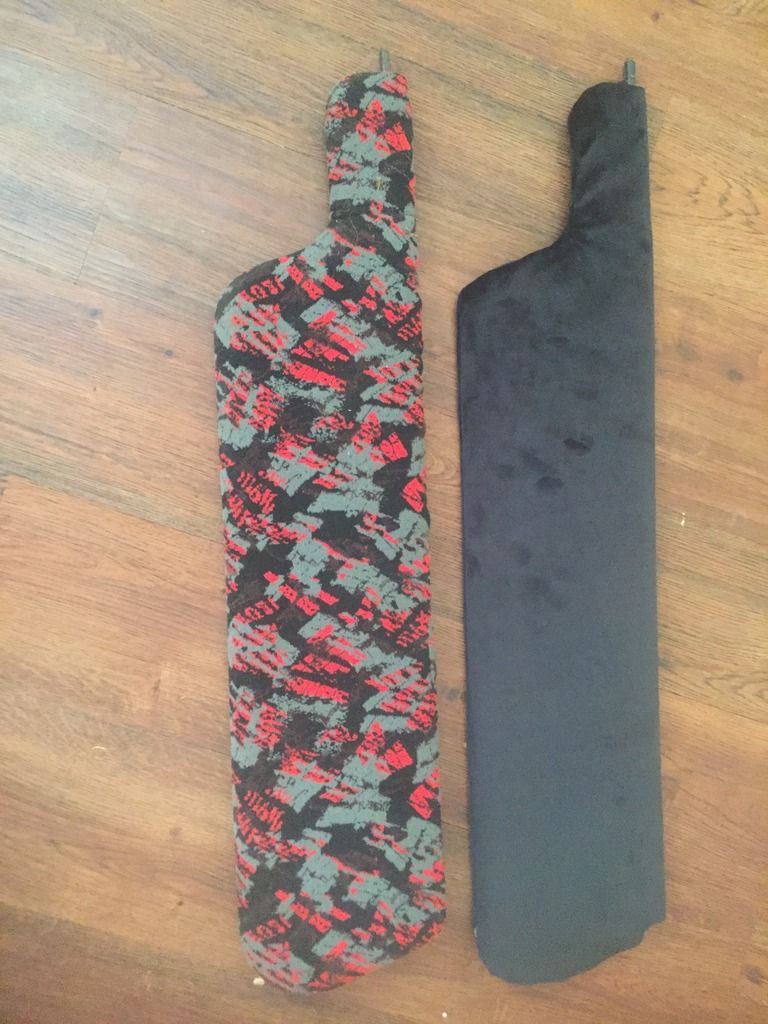
Headlining before
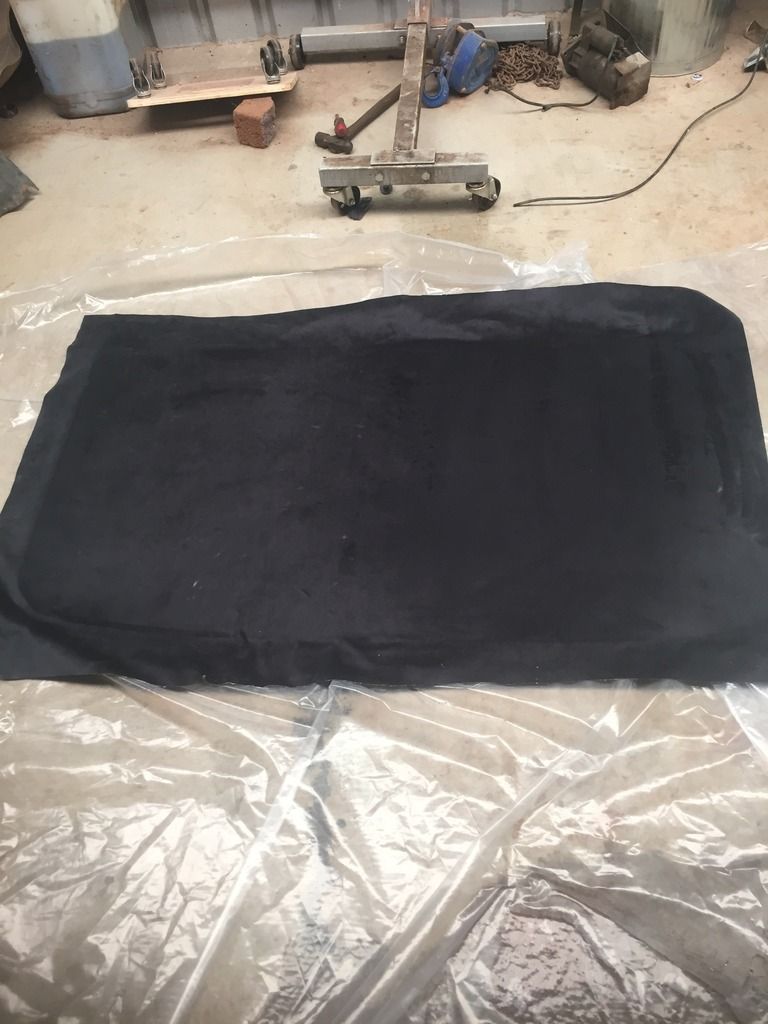
Starting to trim it
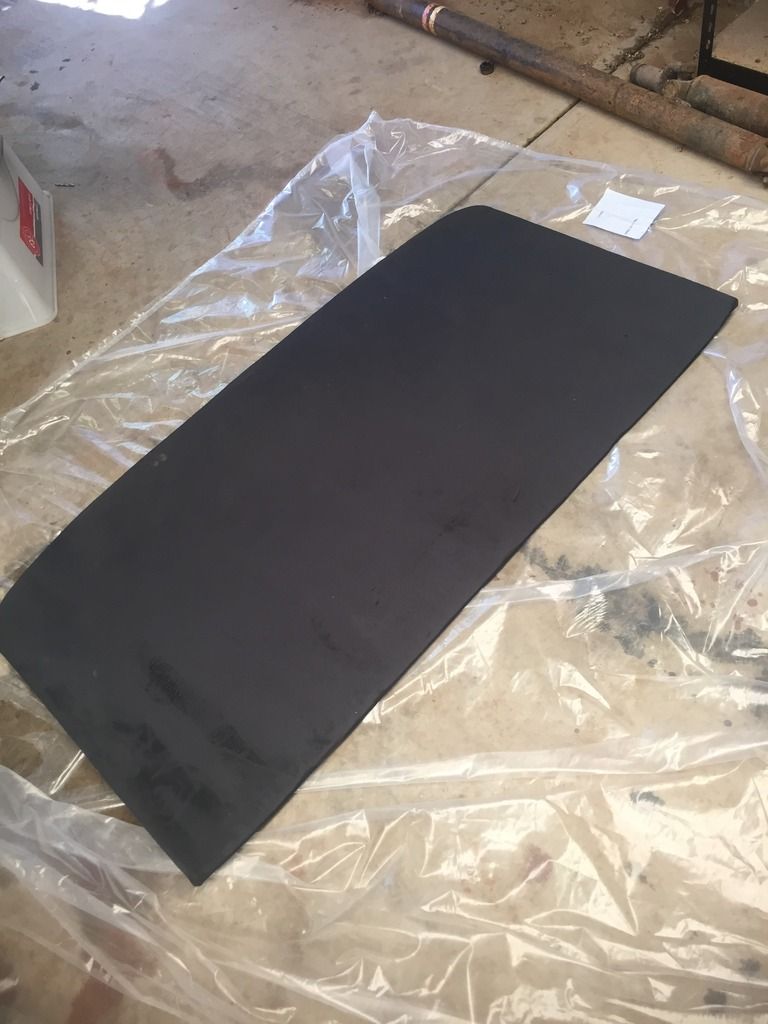
and ready for install

Trims for headlining painted black from the original yellow
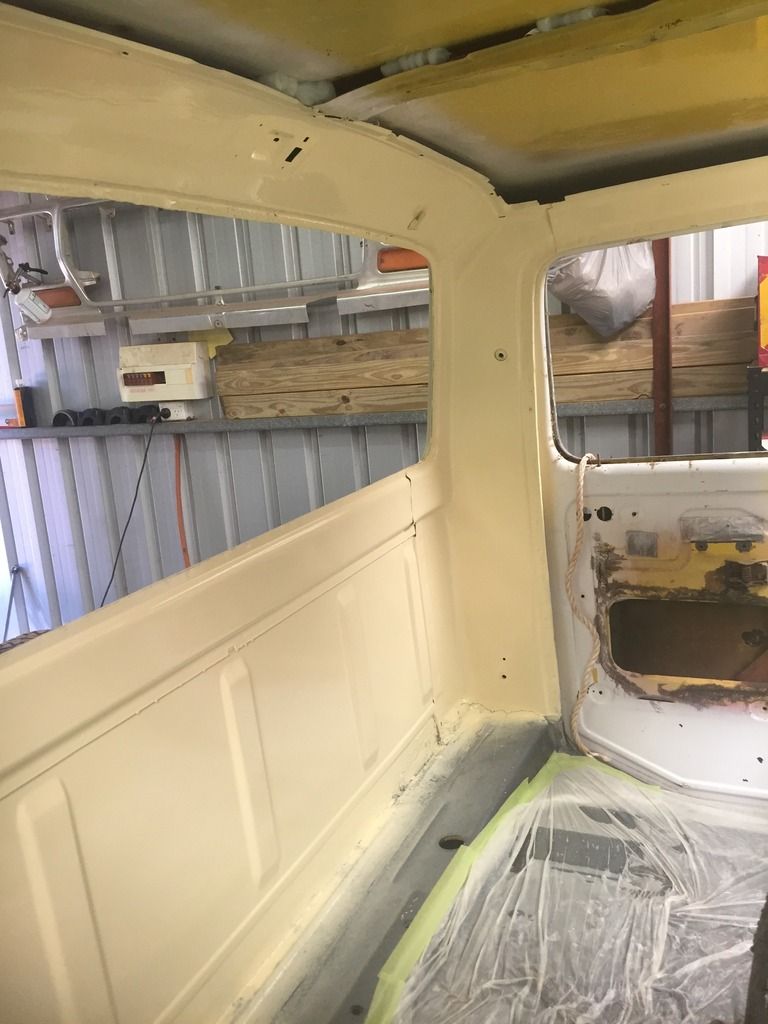
Inside of cab painted
Before on the left After on the right
scottly and SirkWhyXF reacted to this -
I really need to update this. I have since got both guards and the drivers door straight and into hi-fill primer, left door will be done tonight. Have fitted up drivers side panels for alignment. Valve springs are all fitted to the head and have started on the dump pipe which will be done tonight. Im on break tomorrow which shall see the left door into hi-fill and the timing chain and head fitted along with the exhaust manifold, turbo and dump pipe. Will upload pics when i get time
-
well ive done some more.
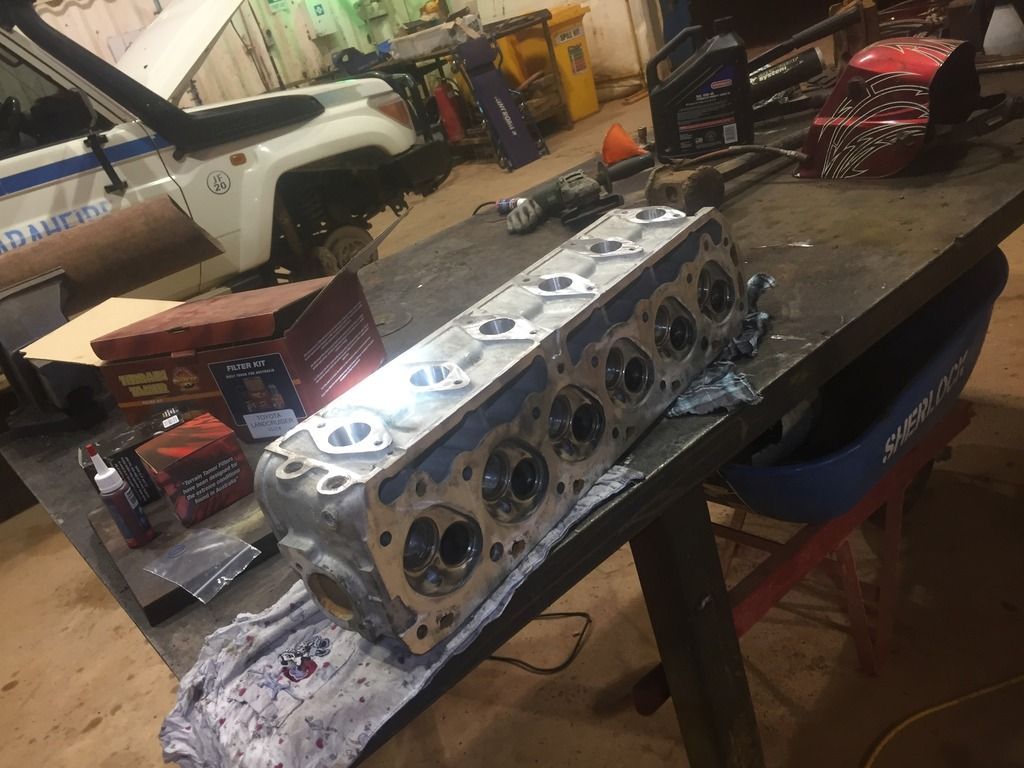
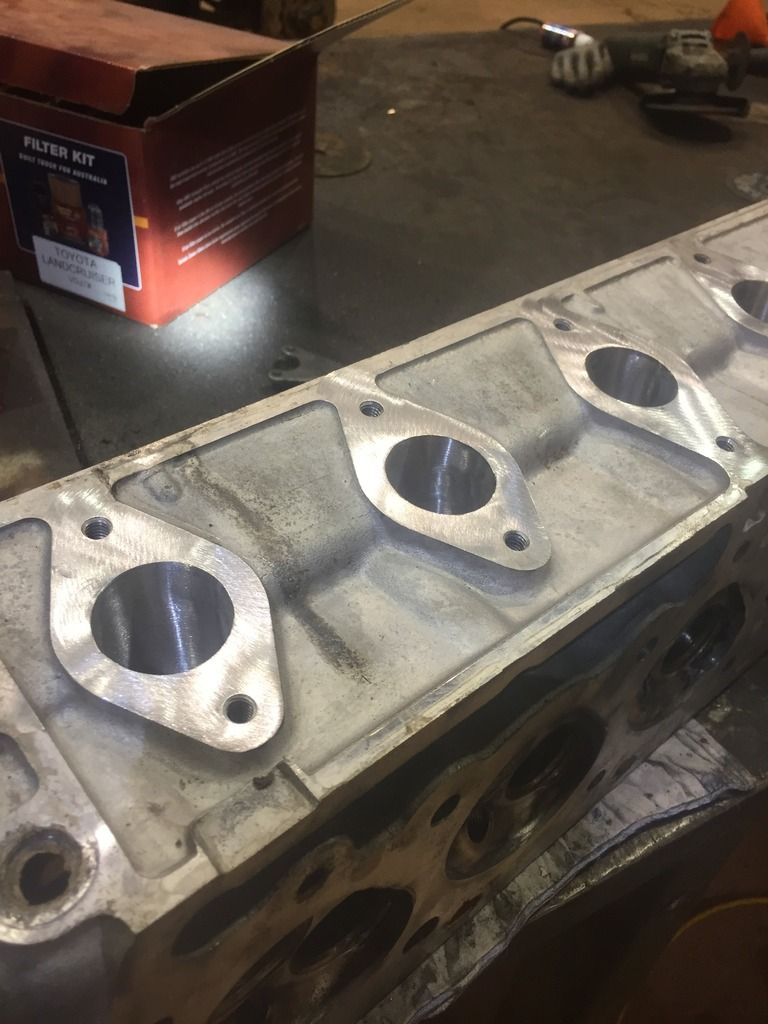
cleaned up the head and ports
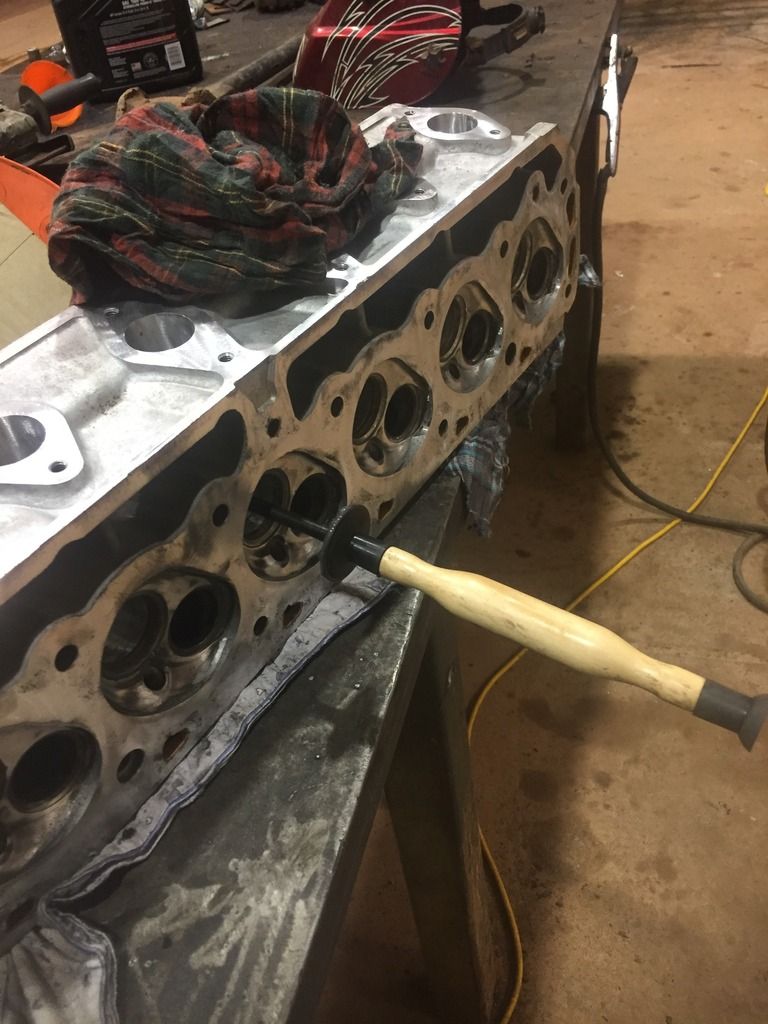
Lapping the valve
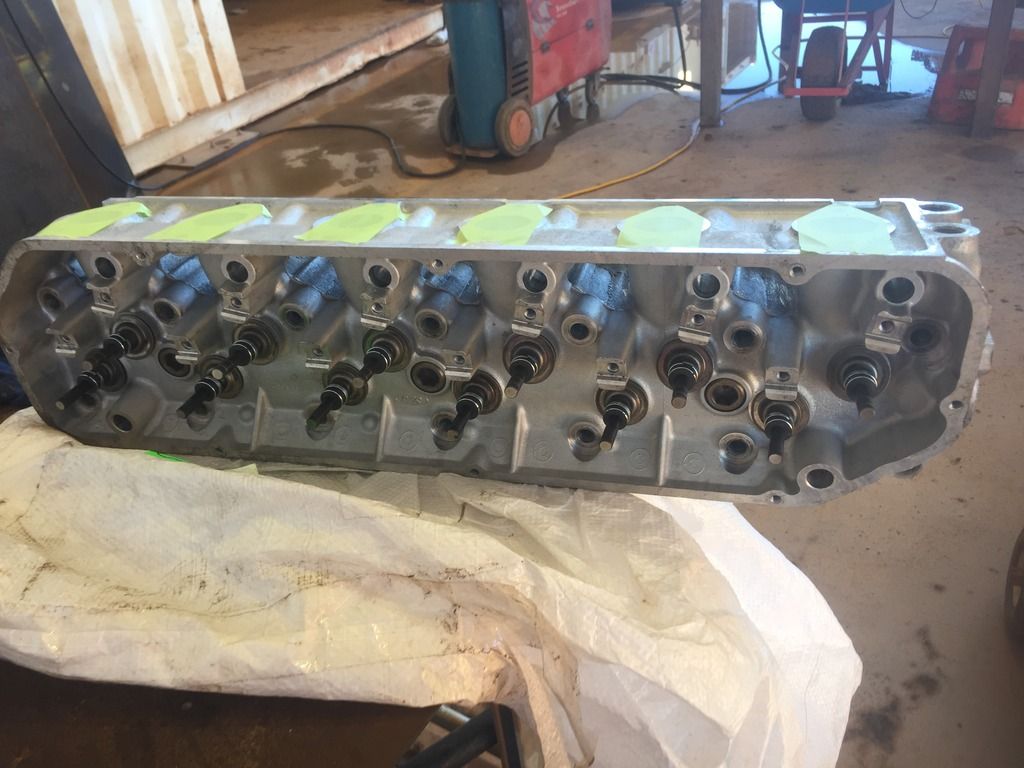
valves and seals installed.
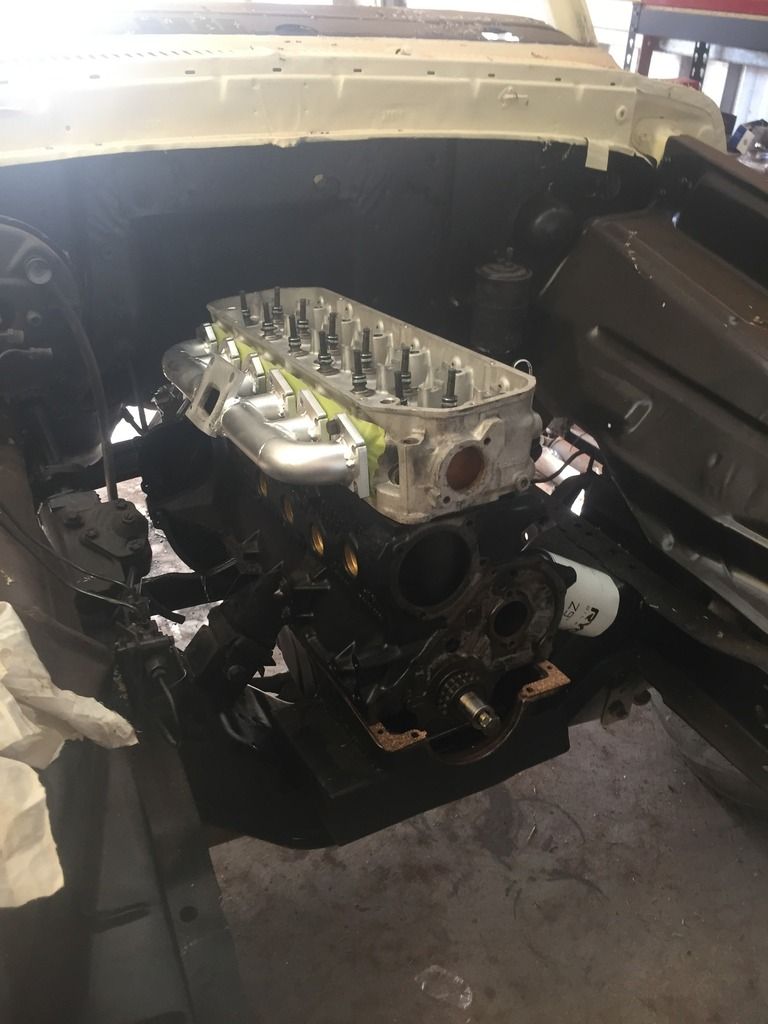
Head and manifold on for mock up
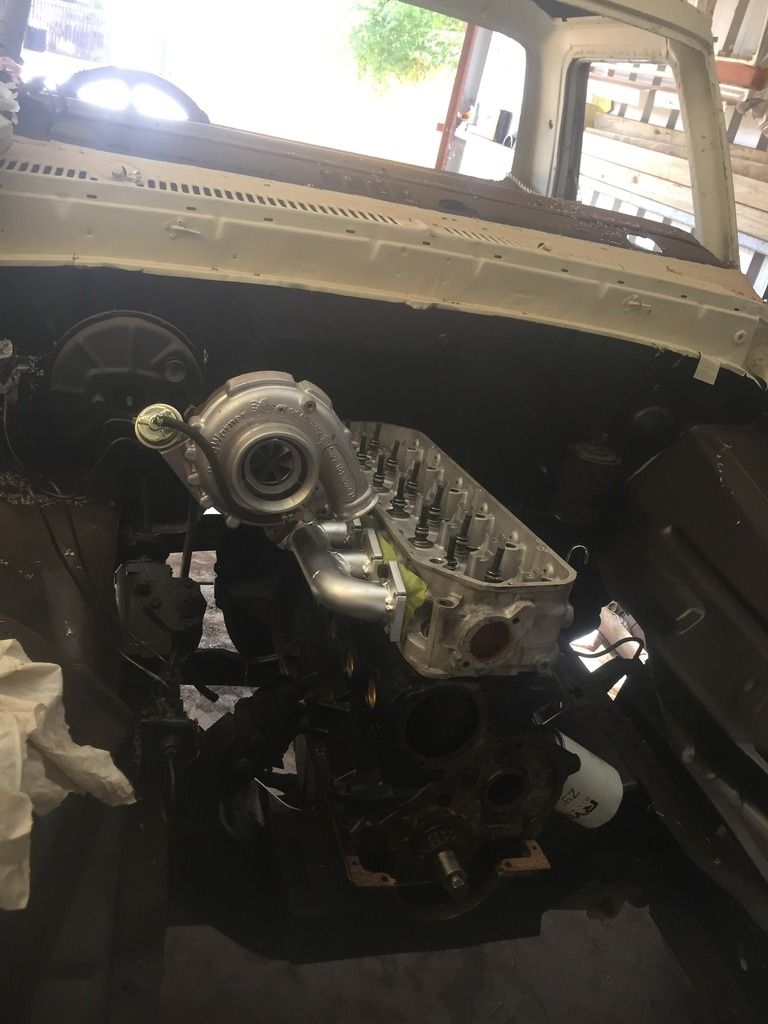
and the turbo
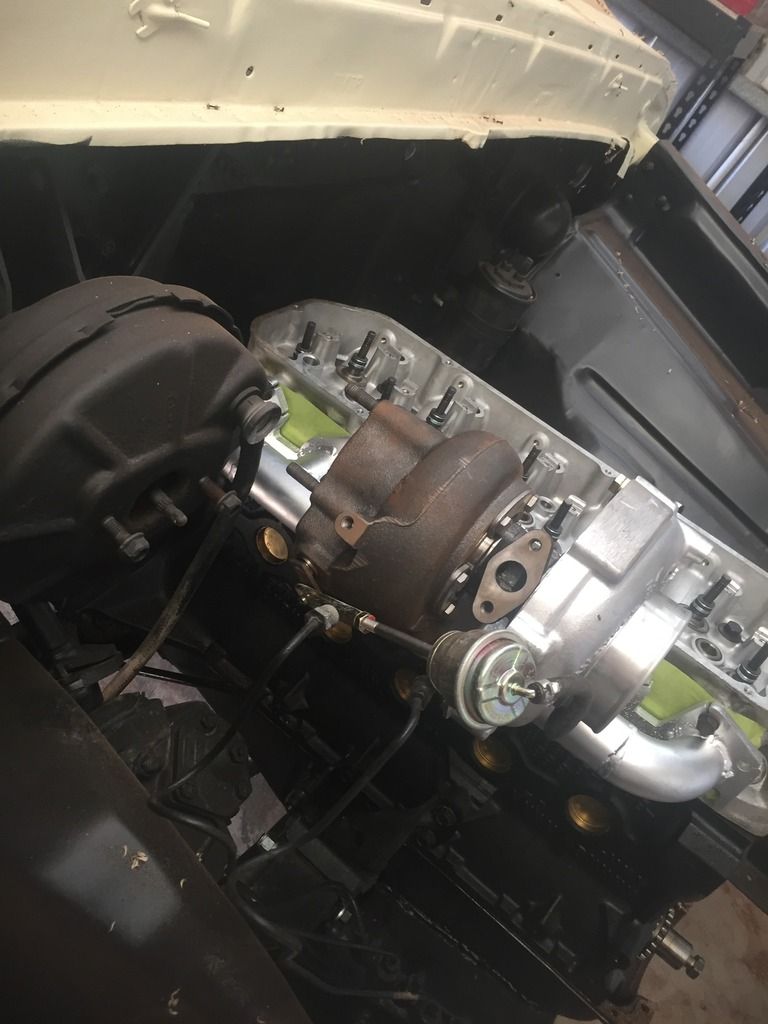

I'm waiting for my valve springs to turn up so I can install them then bolt the head down and its onto making the dump pipe
Crazy2287, SirkWhyXF and Panko reacted to this -
Call or email Camtech. They deal with this every day of the week and look after their customers
Slow250XC reacted to this -
The block had been honed and was nice and clean. Narr the hole isnt big enough for the bellhousing lol.
But i have ordered my valves so hopefully will get the head sorted and on next break
-
Thanks for the kind words. Well im working for the next 8 days then i get 5 off so will hopefully get more done next break
-
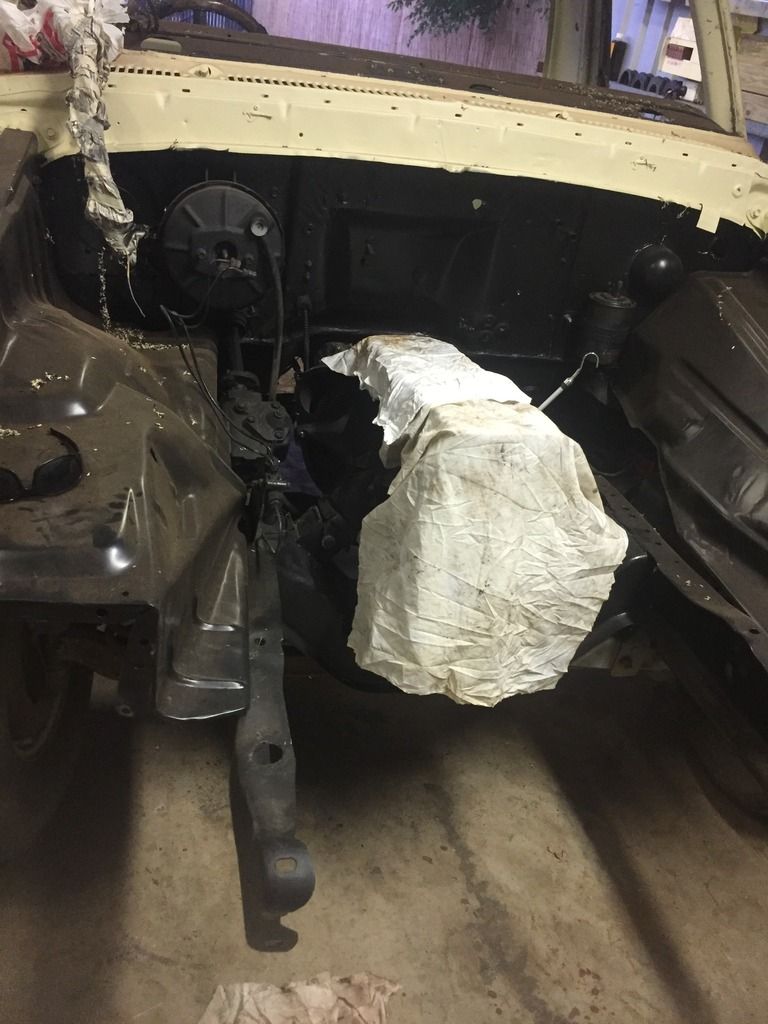
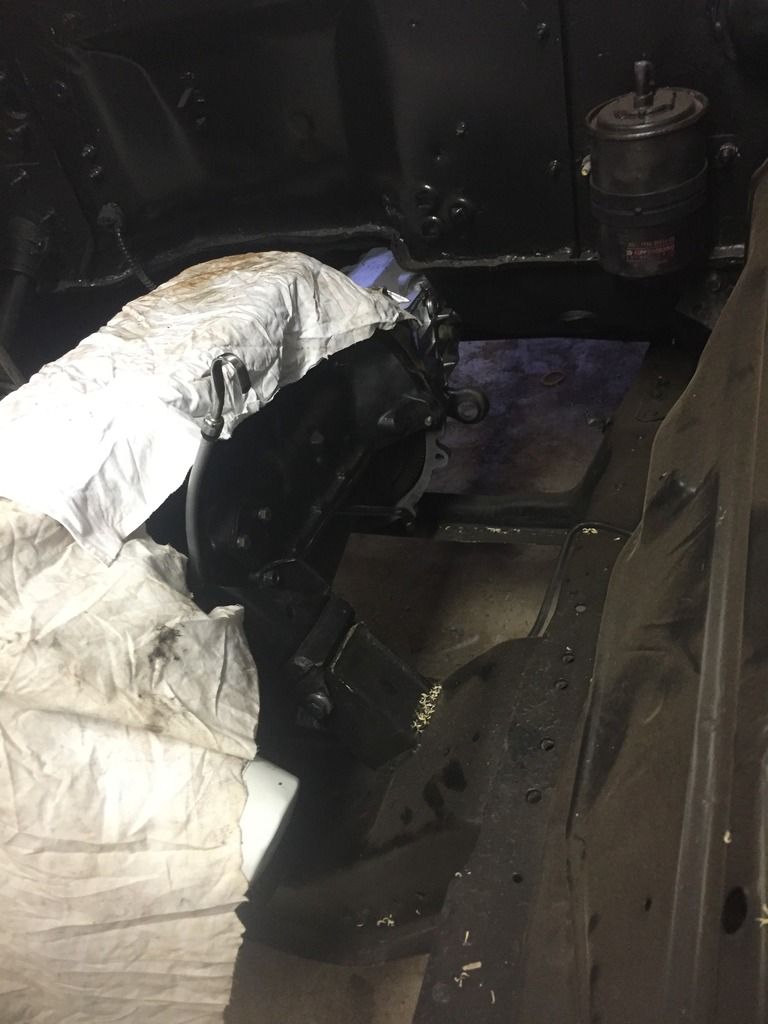
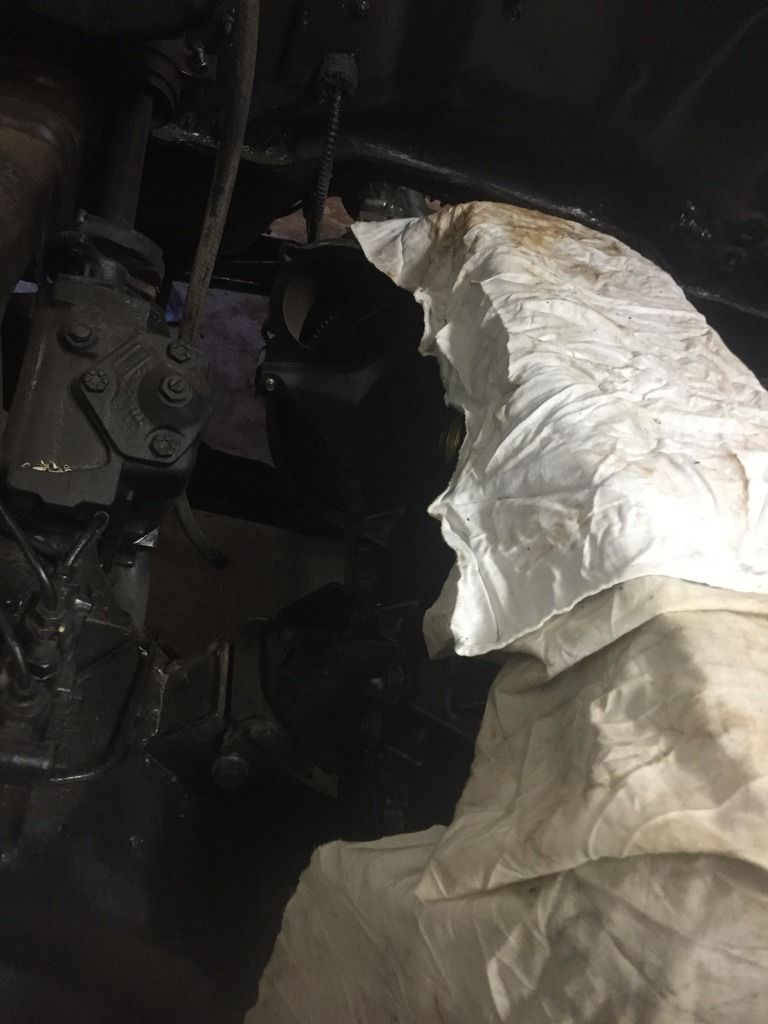
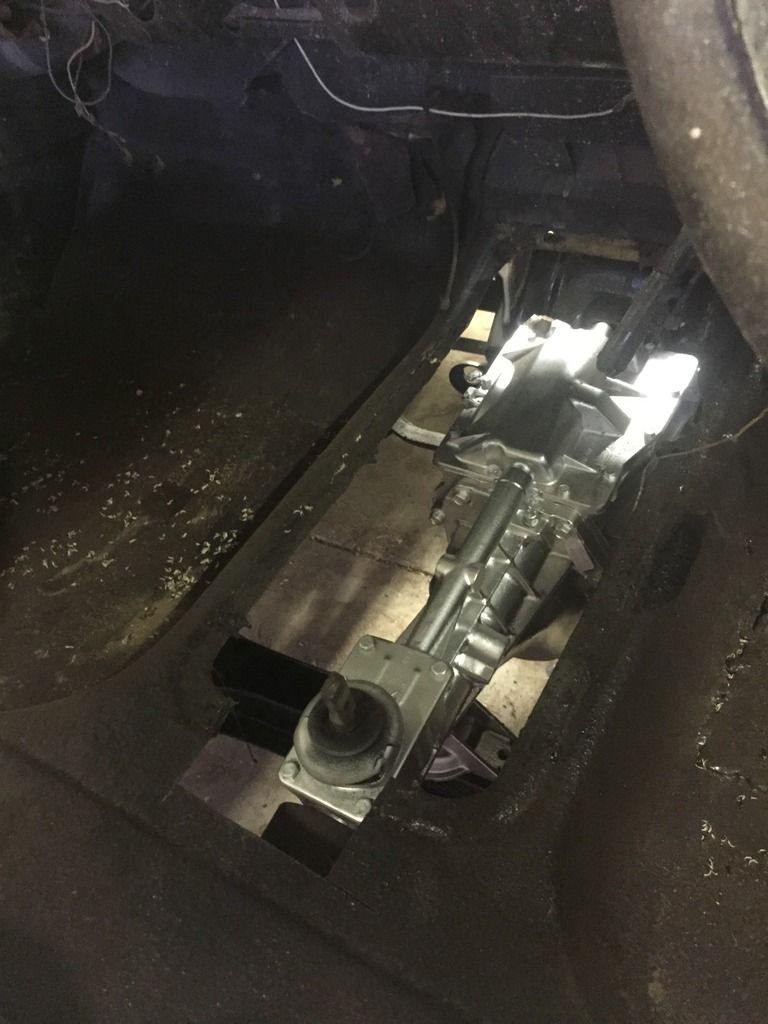
Well the engine and box are in. Next i will fit the cam then start on the head. Tomorrow i will order my valves and valve springs.
 deankxf and CHESTNUTXE reacted to this
 -
Yeah both are blank between inlets 1 & 2 and have the HF under the rocker cover. mmmmm very interesting thanks for that
-
beautiful, thanks heaps
-
Valves Performance Wholesale
HF1 and HF2 is just early XD head. No real difference between TBH.
Clutch I'm not sure of having not done 1 in ages but I'd assume there a 5/16th UNF.Happy to be wrong though but someone like Sunbury brakes would know..
Weird since the HF1 came off a 93 xf ute.
Thanks for that ill have to order some in.
-
Hi all just a few questions,
First what size, length and grade bolts are used for the clucth on the 86DA engines?
Where can i buy new valves from?
What is the difference between the HF-1 and HF-2 heads?
-
Well a small update the motor is together other then the cam. Now I just need to do is find out the size of the clutch bolts so I can get them then I can fit the box up and put the motor in
Panko, SirkWhyXF and Outback Jack reacted to this -
Well had some parts turn up over the past few days bring on the weekend

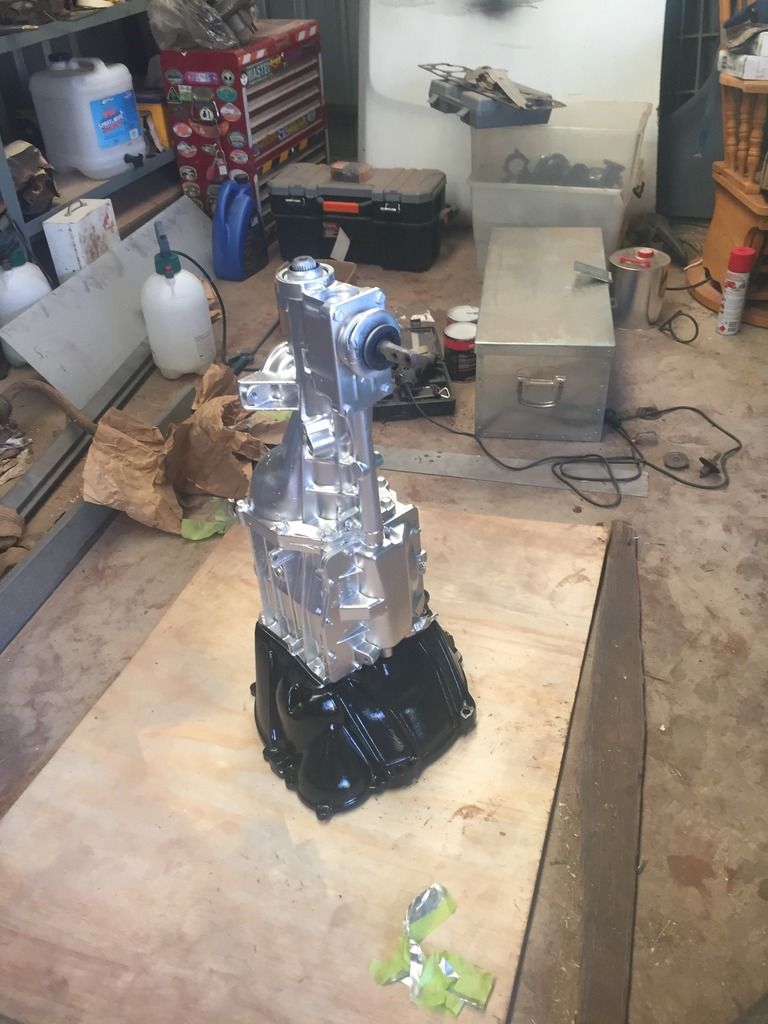
Box ready to fit
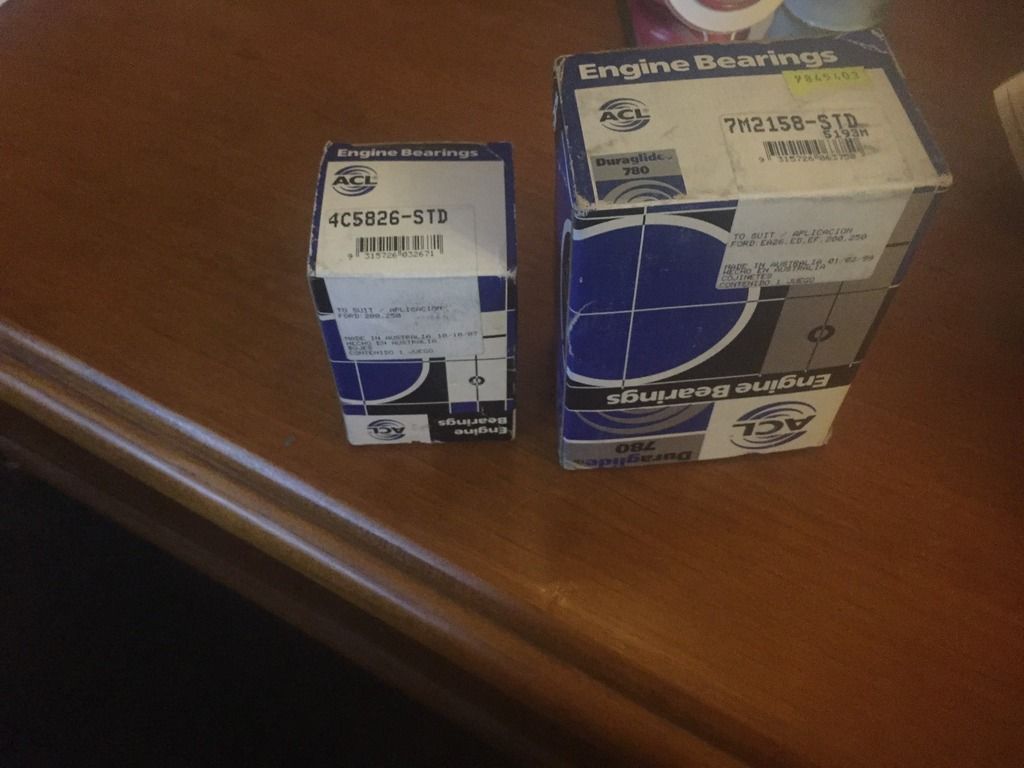
Cam and Main bearings
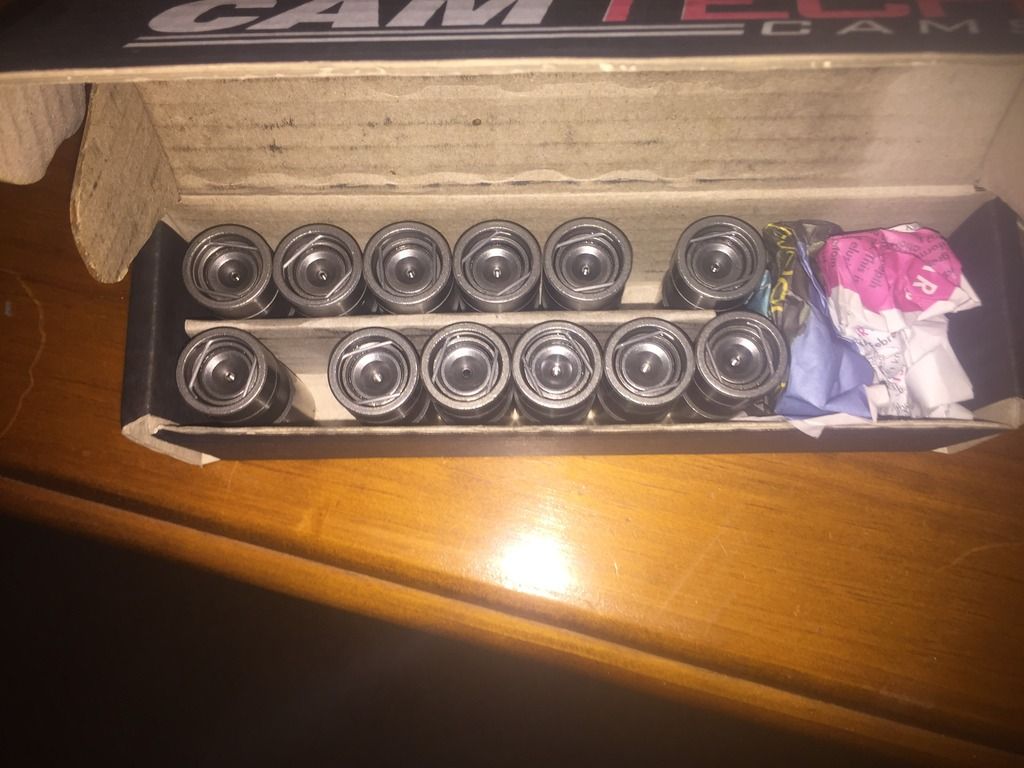
Lifters
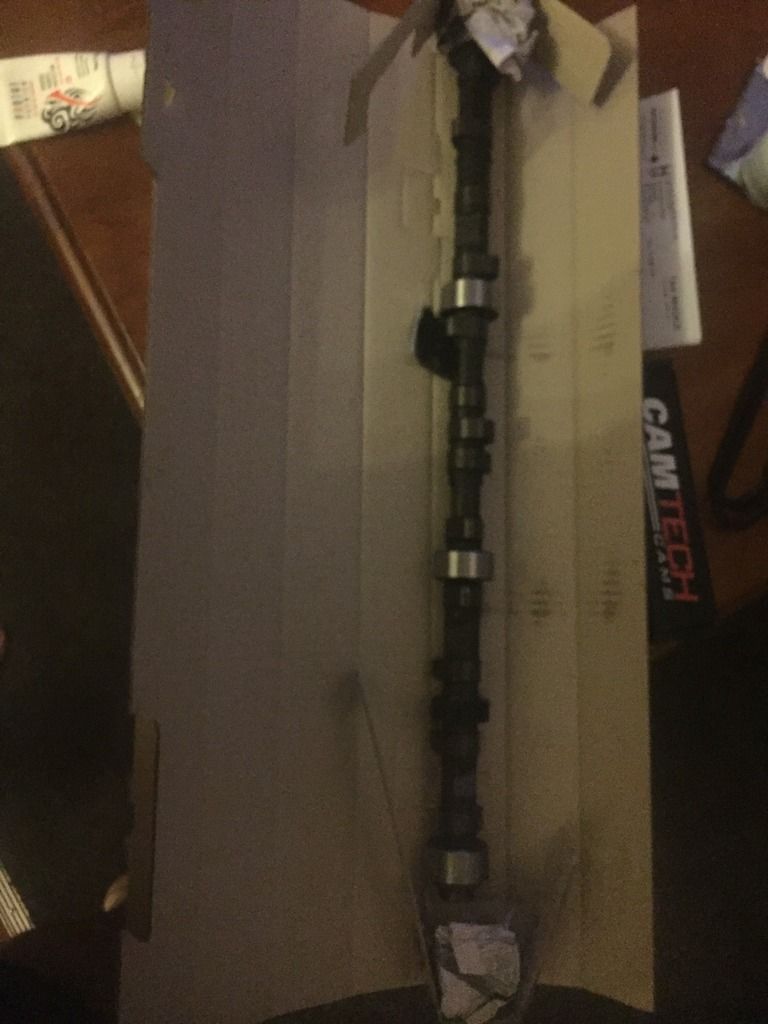
Cam turned up today aswell.
CHESTNUTXE, ricktewagon and Outback Jack reacted to this -
been watching this build on ffau, making decent progress considering what you started with
Cheers mate there has been some work on this harder then my previous cars ive done.
New main bearings and cam bearings should turn up this week aswell as my cam and lifters(From Camtech) Which should see the bottom end put together then I can fit the flywheel, clutch and gearbox then I plan on fitting the bottom end and box into the truck so I can start sorting out the dump pipe and exhaust slowly
CHESTNUTXE and Outback Jack reacted to this -
compression should be around 8.5:1
-
pistons are 22cc and cam specs
Adv Dur Dur @ .050" LSA Valve Lift
286/288 226/230 113 .541"/.536"
-
will do next time im out in the shed
-
not sure off the top of my head. the one off the motor is a 93 xf ute unleaded and i also have a head off a efi fairlane
-
-
Lol. the different colours are just from sheet steel i had sitting in the shed and had painted other crap on it. When i get some time ill add more pics of where it is up to now
CHESTNUTXE, Outback Jack and SirkWhyXF reacted to this -
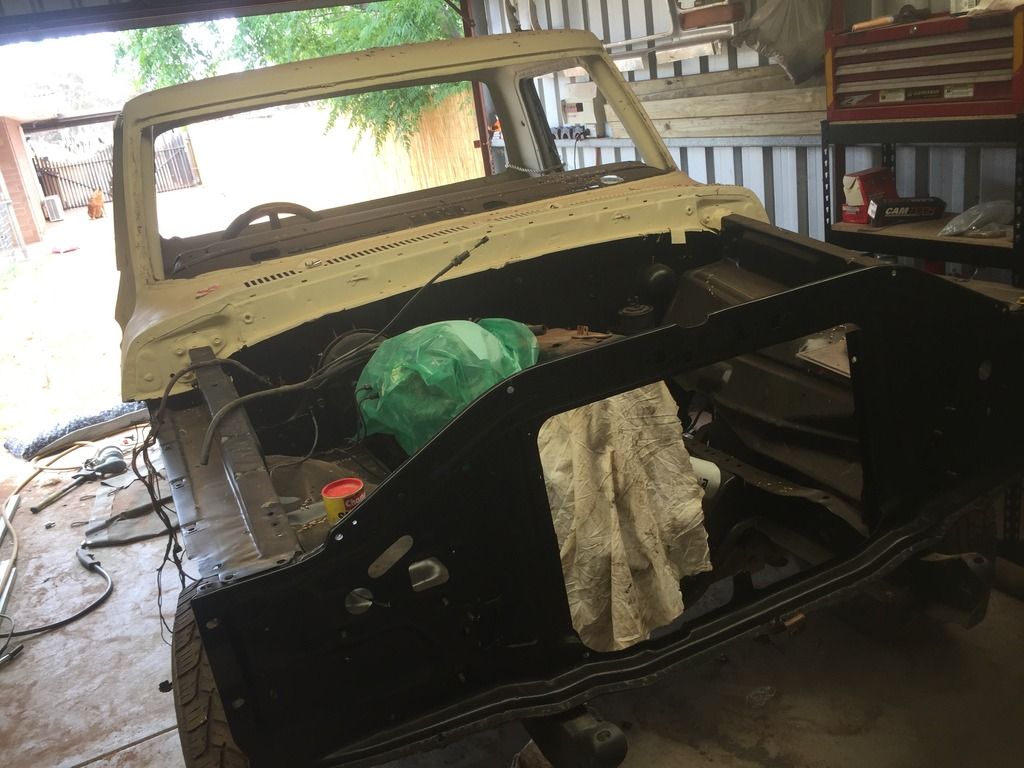
Well last year in December i got a F100 without motor or box for free so that became my newest project. It has a 3.50:1 lsd 9in in it and i am building up a 250xflow with a blow thru carby and a turbo which will be backed up with a T5. Well here are some pics of the work done so far.

When I got it


Stripping


Tray I picked up cheap

The damage


The fun


As it sits the bottom end of the motor is nearly ready to go in with the gearbox. Cab has been stripped and is ready for paint doors and guards are stripped, rust free and in primer and tray is 95%repaired just need to weld it out. Have also done a diff flip and painted the enginebay and chassis
-
There is a Black and also Yellow off the fuel sender so would the black just be an earth and yellow signal to the gauge? Then off the fuel pump there is a Black and a Red so is the black a earth and Red 12v switched/ignition?
-
Hi all,
Im just fitting a XG fuel tank into my XF ute and am just wondering what the 3 wires off the XF fuel tank go to (Black, Red, Green/Yellow) and what do I connect the 4 wired to off the XG tank? I am also swapping the dash over to the XG one. Also my XF is a 91model with the carby.
-
Well I have got access to a NA fairlane and a XG so if either one of them will fit I can go get them


F100 LWB 250turbo
in Effies
Posted
Headlining installed
Preping guards
Then both were epoxy primed
Then the hi fill
Rear sway bar
Drivers door in hi fill