

Crazy2287
-
Content Count
1,827 -
Joined
-
Last visited
-
Days Won
13
Everything posted by Crazy2287
-
You'll have to pull then out and pop the glass off the front. Clean the glass using normal glass cleaning techniques. Be careful cleaning the reflector. Use a soft cloth as it will mark easily.
-
A google got me here: https://www.diyautotune.com/support/tech/install/ford/ford-eec-iv/ But i thought i saw another mod had done one that was even more "Plug n play" and i'm pretty sure the XF used Ford EEC-IV ECU but get someone to confirm. Also here: https://www.diyautotune.com/support/tech/hardware/diypnp/available-models/ Which leads Here: https://www.diyautotune.com/product/diypnp-ford-60-pin-eec-iv-unassembled-kit-no-connector/
-
There are 2 screws on throttle body. One sets the butterfly so it never closes completely and this is to stop the butterfly "sticking" in the closed position. Aka it improves pedal feel. The other is an air bypass. For tuning idle both the pip wire and the iac should be disconnected as both will alter the idle speed. And the eng should be fully warmed up. If eng is fully warmed up and the iac is still altering idle speed, (and ac is off) then that leads me back to the clt sensor as possibly faulty. A wideband sniffer can be used for adjusting the afm. And why are they playing with the knock sensor? Just unplug it if you think it's an issue and it will stop interfearing with the tune. I have never had the knock sensor cause any issues (and I've had a lot of issues) and tbh i don't know if they even worked from factory. I know what does work. An aftermarket ecu. And all future eng issues can usually be diagnosed by plugging in a laptop and "oh, the ECU isn't getting 'x'. So I'll fix that" You can also enjoy better fuel economy and can fuck off the pesky afm and say hello to a couple extra ponies. All without changing the appearance at all if you are tricky and gut the afm and leave it installed. I think they make plug in megasquirts now that use the factory harness and connector. Just add EGO and a MAP line.
-
Crazy thought. But seriously, bin the ECU and put an aftermarket one in. No one will ever know unless you tell them. By now it probably would have been cheaper than all the fucking around these 'mechanics' seem to be doing.
-
If you want my opinion (Hahah, Good one.) wihout reading the whole thread. If you want EFI. Fucking put it on. There is little to nil excuse for using throttle body injection of aftermarket "Bolt on" self learning systems when proper EFi installations can be adapted and used so easily with much better results. If you want to keep a "carb" manifold and look. Just leave the fkn carby on it..
-
It is unlikely that it will be the fuel pressure regulator. It's government over your fuel ratio is about 3% error. Unless the fuel pressure regulator is blocked then you will have no fuel returning to the tank. You can check this by either teeing in a pressure sender somewhere between the fuel rail and the pump and checking for 40-42 with eng running or 44psi with no manifold vac (eng not running or manifold ref line disconnected.) Or, a less perferred method, disconnect the return line and put it into a 2 litre bottle. measure how long it takes for the bottle to fill up when the fuel pump is running. The second option will also be reliant on the battery voltage, fuel pump and your fuel filter been in good condition, if they are not, it will give you a false reading. Edit: also, if your exhaust temp is stuffing your starter motor, make sure you have enough timing. It's not uncommon for me to wind 16deg (+6 from stock) advance on the dizzy on a stock crossy.
-

0-90ohm fuel sender to xf (volatge) gauge PROJECT
Crazy2287 replied to judgetread's topic in Auto Electrics
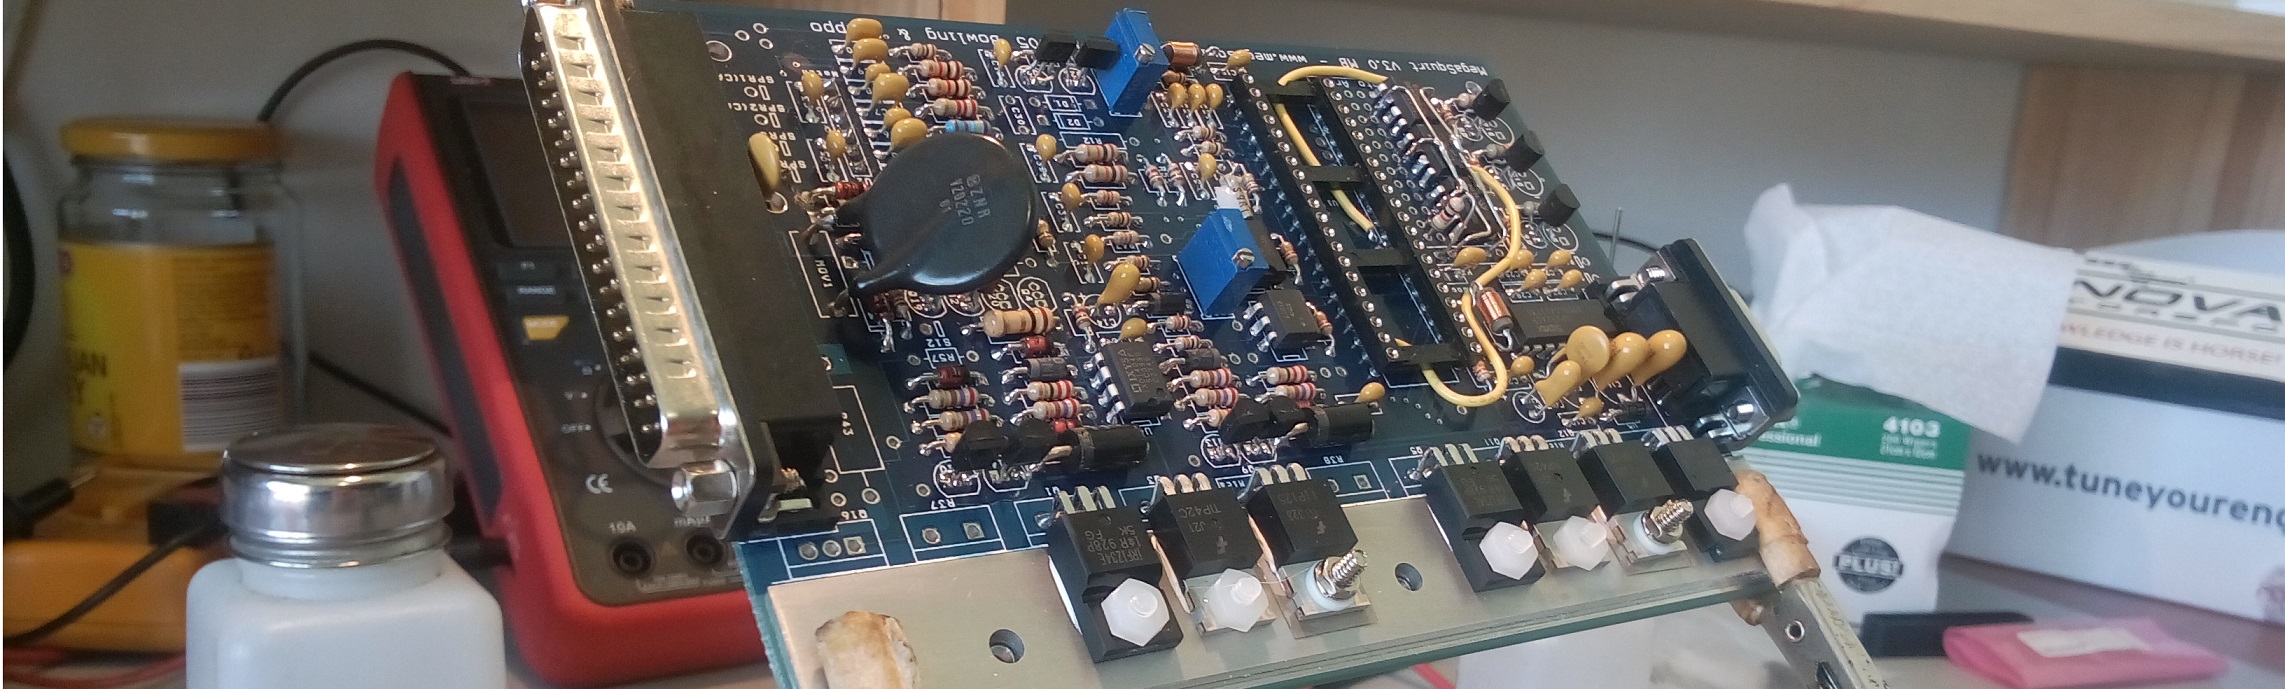
V1.0 X series capacitive fuel level cluster interface to normal resistive fuel level sender. THIS IS A PROTOTYPE. Function is not guaranteed. There are probably mistakes. This uses a normal emitter follower amp so it is non inverting. When setting up the rheostat on the sender it must read high resistance when full. You can either flip the reostat, or install the float arm on the other side. If this is not possible you'll need to sort out an inverting stage into the circuit. It's been physically assembled and tested on the bench with a digital x-fal (Star wars) cluster using a pot to simulate the 33-240ohm fuel sender. Works good. Further testing shows it would work fine with any restive fuel level sender up to about 500ohm, At which stage you'll need to replace R6 with a larger resistance. R6 sets the output voltage and needs to be configured. Set your fuel level sender to its maximum resistance, or simulate it's max with a potentiometer. Then connect the output to your instruement cluster, or simulate the cluster by placing a 265ohm +-10% resister on the output, to a ground. Then measuring the output voltage, adjust R6 till 4.5v is seen on the output. This is then the gauge will read "Full" (Reminder: This is on a digital cluster, but i assume they are all the same?) R4 is just for biasing, adjust as needed. It sets the output voltage about 0.5 volts. Adjustment of this value will dictate out much "Reserve" fuel you'll have when the gauge reads empty. It is also dependent on the sender you use. R5 is current limiting if cluster wire is shorted to ground or circuit faults and sends Q2 into saturation. An 1/2watt resister is needed here as it will pass significant current if Q2 emitter is shorted to ground. 1/4 or 1/8w resisters are sufficient in all other locations. S1, D1, D2, D3, F1 and C3 are all optional. mainly for circuit safety. S1 is a momentary test switch, when applied it grounds Q1 base, driving it off, sending Q2 Base high. D3 will illuminate brightly and the fuel gauge will read full. If D3 does not illuminate, the circuit is faulty, or not powered. D1 is reverse polarity protection (If you wire the circuit in backwards.) D2 is for voltage limiting, protecting the cluster from overvoltage. If the LED (D3) is illuminated brightly, it's an indicator that the circuit has failed or the sender is open circuit/not connected. If open circuit failure occurs causing the gauge to read full, assuming your an astute driver, you'll notice you've done too many KM without the fuel level dropping. You can check the box and the test switch, If the red LED is on BRIGHT, you know something is wrong. D3 will illuminate dim, when gauge is full in normal operation, this is leakage currant past D2, to test, press the test switch, if the led gets brighter, then the circuit is operating normally. If intensity is consistent, then there is an error. F1 id over current protection. The circuit should draw reasonably low current (Up to about 25mA). If something goes horribly wrong, F1 is there to protect the circuit. C3, I'm not sure if it will be needed, But i'm expecting a bit of noise to be generated by the float's rheostat as it bobs around in the fuel so a sufficiently large cap to dampen transients may be needed. -
Okay so i had to go wayyyyyyyy back to 2006 to get this data. This if from when i mapped my stock sensor for calibration within my MS1 ECU. so this "Should" be the data for the stock x-fal temp sender. Bucket of ice water, Room temp, and boiling water. Resistance in Ohm. Input Data ; Temp, degC Resistance ; 0.5 86650 ; 19 26000 ; 99.8 2130 You're welcome. It's important to note that you can't simply test the sensors, you must also test if the ECU is supplying the sensors with the correct voltages. Also check the sensors all have good earths. For example, a bad engine earth will take out multiple engine sensors. and a bad ECU earth will potentially take out all of them.
-
With s p o u t wire connected and a timing light on cylinder 1 does timing advance as RPM increases? With spout disconnected and engine at idle timing Tribute in degrees but feel free to wind a couple extra into it.
-
TC/TD cortina hydraulic clutch conversion? anyone done one
Crazy2287 replied to kcuf's topic in Cortys and Eskys
I have not used one but the Falcon remote masters look pretty adaptable too. To get maximum throw on a quarter master CSC you'll need a 7/8th bore Master but knowing what i know now i would have gotten away with a standard 3/4" master. Im using a 1" master as 7/8th was too hard to get and 1" is a bit too big. I only use a small amount of the masters travel to drive the CSC. Another pro tip, don't cheap out on your CSC, if it fails you gotta pull the gearbox to fix it. I'm using quarter master, no issues (yet) -
TC/TD cortina hydraulic clutch conversion? anyone done one
Crazy2287 replied to kcuf's topic in Cortys and Eskys
Protip, fuck the clutch fork off and go CSC. -
0-90ohm fuel sender to xf (volatge) gauge PROJECT
Crazy2287 replied to judgetread's topic in Auto Electrics
THIS IS A PROTOTYPE. Function is not guaranteed. There ARE mistakes. I've already noticed a couple. (zd1 value should be 1n4733 5.1v, Output voltage should be 4.5v when full, not 5.1v. Value of r2 and r7. c1, etc. These things still need finalizing.) This is about as far as i'll go till till i actually fit it to the car. It's been physically assembled and tested on the bench with a digital x-fal cluster using a pot to simulate the 33-240ohm fuel sender. Works good. C1... I'm not sure if it will be needed, But im expecting a bit of noise to be generated by the float's rheostat as it bobs around so a sufficiently large cap to dampen transients may be needed. Note it is drawn wrong in the diagram, It will need to be from Q1 emitter to ground. Not across Q1 Re as showen. Edit: oh, And ignore the part number on Q1, Q2. that's just default from the software, I'm using BC547. R4 is just for biasing, adjust as needed. R6 is current limiting if cluster wire is shorted to ground or circuit faults and sends Q2 into saturation. ZD1 and LED1 is just there for circuit protection. The idea is if the fuel level sensor goes open circuit the gauge will read Full. Assuming your an astute drive, you'll notice you've done too many KM without the fuel level dropping. You can check the box, If the red LED is on BRIGHT, you know something is wrong. -
0-90ohm fuel sender to xf (volatge) gauge PROJECT
Crazy2287 replied to judgetread's topic in Auto Electrics
Got this mostly sussed out now. Using an emitter follower amp with discreet components and a 33-240ohm sender as they seem to be most common on eBay. Going to bypass the added complexity of inverting the signal by mounting the float arm backwards (essentially operating the reostat/sender upside down) The downside is if the sender brakes the gauge will read full. Will do a walkthrough once It's complete but I was prototyping the circuit last night and it was working. Uses a 9v supply chip, 2 bjt transistors, 1 pot and 4-5 resistors so it will be well under 10 dollars doos. -
V8 power steering pressure line
Crazy2287 replied to gerg's topic in Steering, Suspension and Brakes
What I'm saying is. You have the option where you could cut the flexible portion of your line Flair it in 37 degree jic and adapt PTFE braided line to the back of the pump. Might end up cheaper than buying one or two swagelok fittings. -
V8 power steering pressure line
Crazy2287 replied to gerg's topic in Steering, Suspension and Brakes
Braided an6 PTFE should take 4000 psi. And all the speedflow fittings or in other words j i c fittings will support that pressure no worries. and you can Ally hard line and bend up your own you will just need a 37 degree flare tool. save yourself mucho dollar Reno. -
If it is a sticky injector then only a single cylinder will be over fueling,simple check of the spark plugs will show if something is wrong in this manner. If all spark plugs are identical, it will be issue caused by control.
-
When my temperature sensor shut itself I took it to 3 mechanics before one of them was switched on enough to replace the coolant temp sensor and fix the car. This was back in the day when I was a young fella and had no idea what I was doing.
-
Also, check water temp sensor, its the 3 wire one that feeds the ECU. NOT the single wire one in the front of the head. I've Had one of them shit itself before and it caused the exact symptoms you described. It can be tested by checking it's range using a multimeter set to resistence and putting it boiling and ice water and recording that result.l and comparing to known values. I should still have the values recorded somewhere from mine if you get that far.
-
If you do disconnect the afm and it makes no difference to how it idels/revs, then I would start there. Should have a 5v, earth, signal from r the afm and 2 other wres that are air temp sensor. From memory... It's been a while.
-
haha, well you could run "really low boost" no worries. keep it below 4psi, and don't rev it over 4700rpm, couple clicks on the spring in the AFM to keep it rich. keep it under 160rwhp. will probably work... maybe. but you're going to run out of injector and as soon as you change the injector you're gonna need to ditch the ecu unless you "trick" it into fueling properly but it will never run right. thats a guess. If you know of someone who's running stock efi system boosted i'm interested to hear how it went.
-
The reason a range is used, such as 10-14nm, Is because that torque is likely set by the fixing hardware. Not component specific or critical. Generic values are sometimes given as a range. You can usually get generic fixing torques from the standard practice sections of the manual. There will be a table which offers a torque range based on bolt size, tensile strength, locking mechanism (Nylon insert) and thread lubrication. Other times, It may be hardware that has mechanical locking. Like a split pin or lock wire, You can go to the lower torque, and tighten further till the locking solution is aligned (you can get the split pin in). Or it may be a bolt that requires re-torques. In this case you go to the maximum torque (14nm). Then when the re-torque is due, you go to a lower torque for the torque check (12nm) and ensure the bolt does not turn before the lower torque is reached, this indicates it has retained it's torque, and there is no cause for alarm, if it does move, there may be hardware or component failure. If you set the re-torque to 14nm, and the nut turns, it may be due to hardware failure, or, it could just be due to inconsistencies in the torque wrench or small changes in temperature changing the clamping force (torque) slightly. and you wont know. So you have to treat it as a failure anyway, even though there is a good chance it wasn't. and finally, If it's hardware with a sealing surface, If it leaks, you can increase torque to the maximum. If it still leaks once the upper of the range is reached, Its time to replace the o-ring or machine the mating surfaces.
-
Always degree in the cam. And it does not matter so much what wheel you use, as long as your reference/zero point does not change during the measurements. I print my own degree wheels onto A4 paper, cut it out and laminate it. You cna have it any size, But remember a larger wheel, will increase the accuracy of your measurements, It is hard to discern 1 degree on a 3 inch wheel. But on a 30 inch wheel you can degree to seconds of a degree with ease.
-
Any coolant passage on the engine side of the thermostat will be fine. Cold side of the termostat is no good, as it wont show engine temp until after the car has already reached operating temp (Thermostat opens at 80+ degrees C.) The same place the heater hose comes from is a good option.
-
Here you go, easy way to deal with it, Tried and tested: You're welcome =P
-
Just run a new hardline?
