


Oscar of Markoz
-
Content Count
182 -
Joined
-
Last visited
Posts posted by Oscar of Markoz
-
-
Is the cortina finished ..... haha no chance mate. Your best bet for all that info is to get onto a few of the aussie cortina facebook pages. Tons of barra conversions these days
-
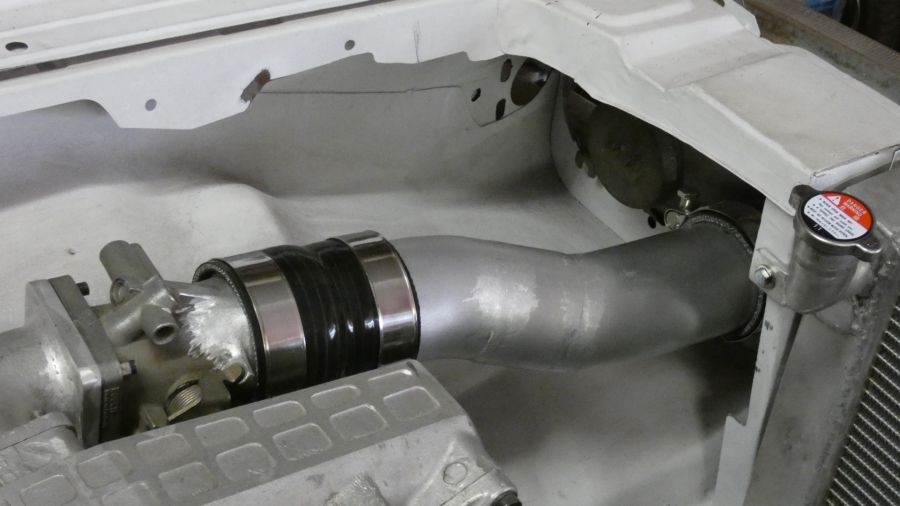
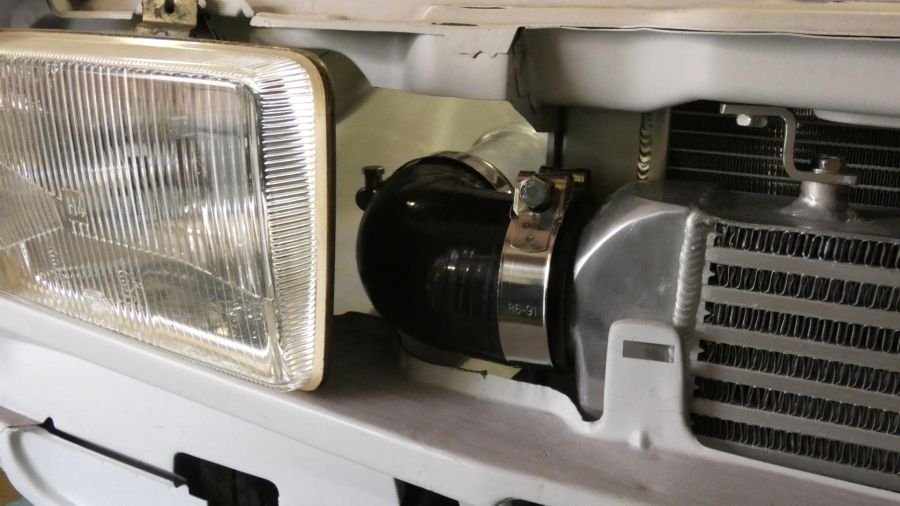
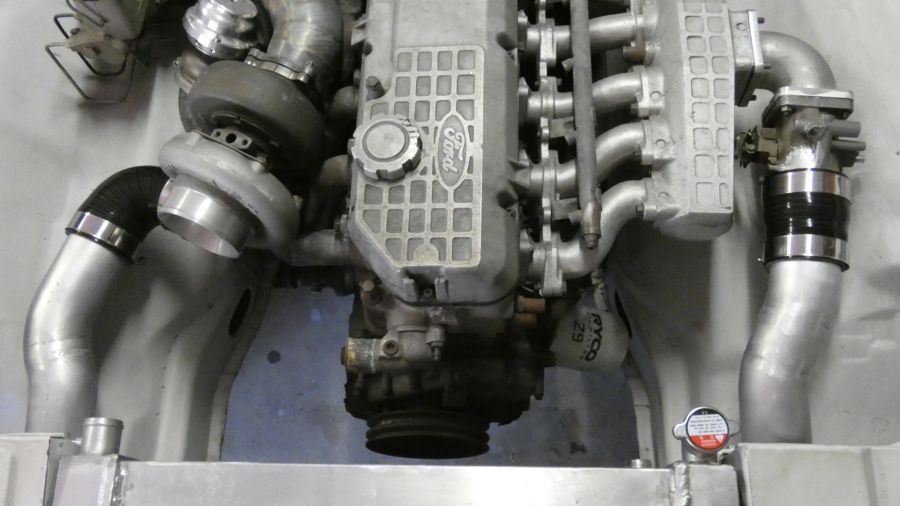
I bought some alloy bends, silicone hose bends and t-bolt clamps from Aeroflow to make the Intercooler Piping. Some careful measureing and cutting, some tig welding and here is the end result.
Here is the video of it
https://youtu.be/4IV5Vhu8TMo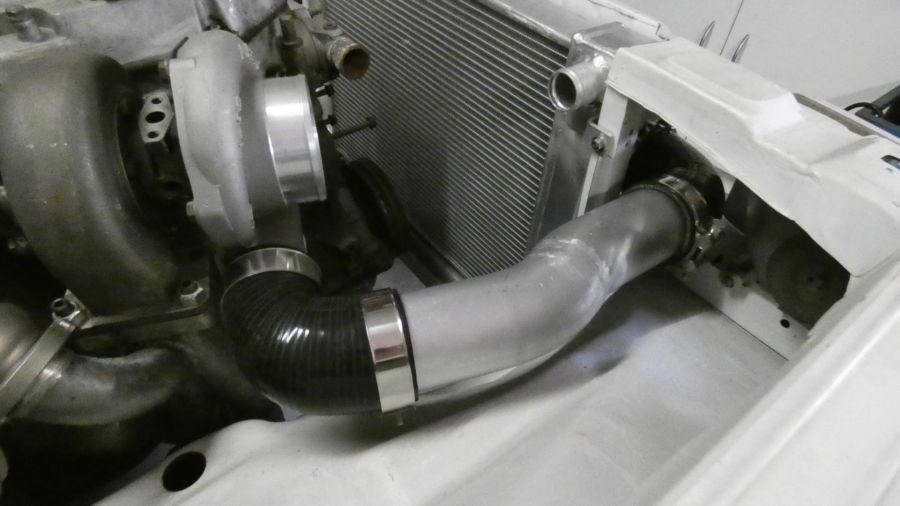
-
The cortina top mounts (standard) are like that also. They are welded to the top of the radiator and then claw over and get bolted down. I didn't want any mounts to be seen in that radiator support area at all so I went with the different route.
Leo sadly is flat chat with school, even filming he was only able to help me for a small while. I will get him back in there soon though. He has a model car build of his own that he'll be doing soon.
Outback Jack, deankxf and 2redrovers reacted to this -
"On this episode of Australian Cortina ...."
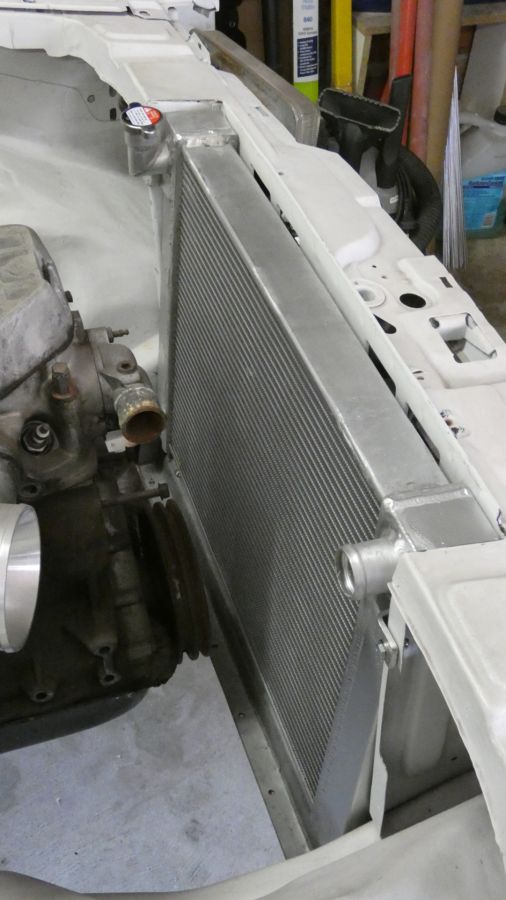
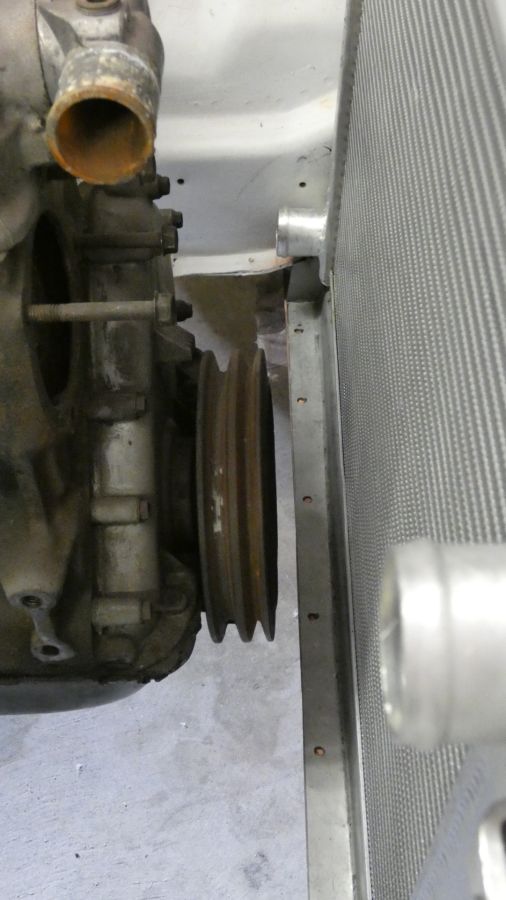
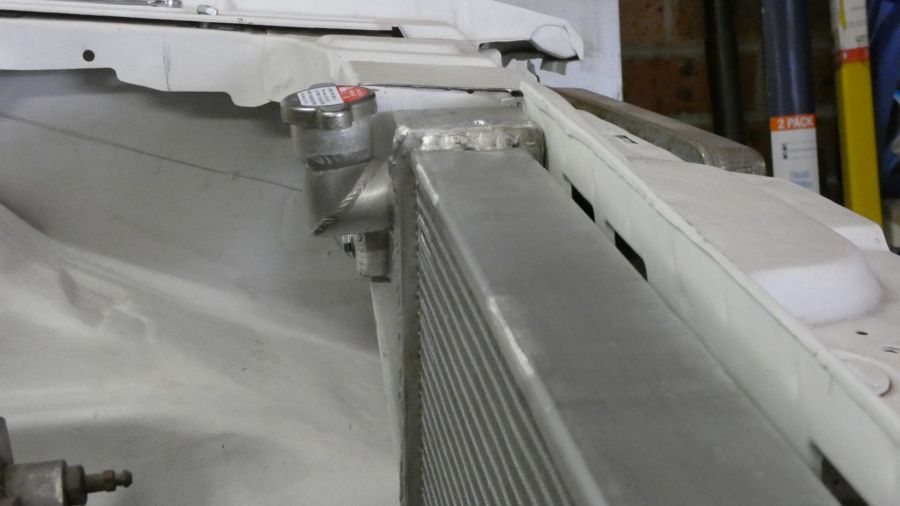
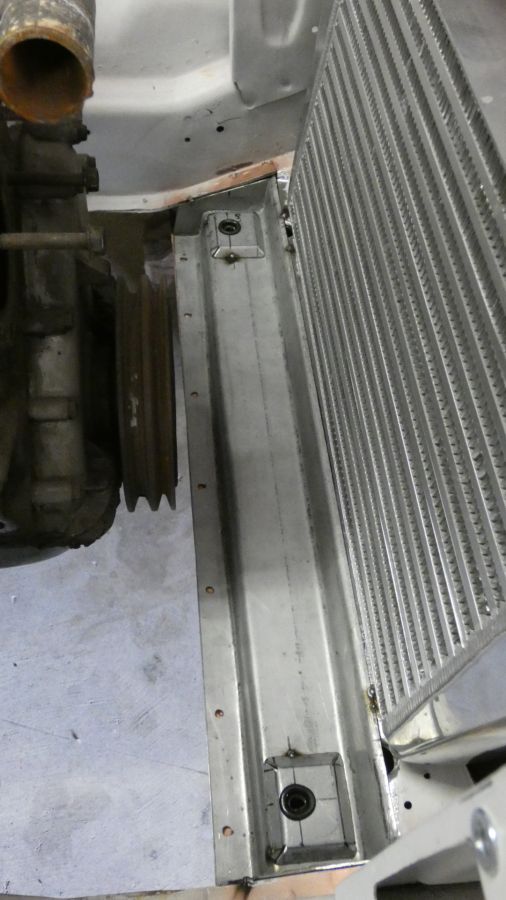
Bought a new alloy radiator, its a VR VS Commodore unit. Just removed the brackets and plates for the standard commodore thermos. Welded on some brackets to mount it up onto the end tanks.
Also cut out the standard cortina radiator mounting area at the bottom towards the front apron lip and made a new one which sits the new radiator further down. Made some pedestal mounts for the radiator dowels and it works like a champ.
Here is a video showing the whole process
 Valvebouncer, Outback Jack and deankxf reacted to this
 -
"On todays episode of Australian Cortina ..."
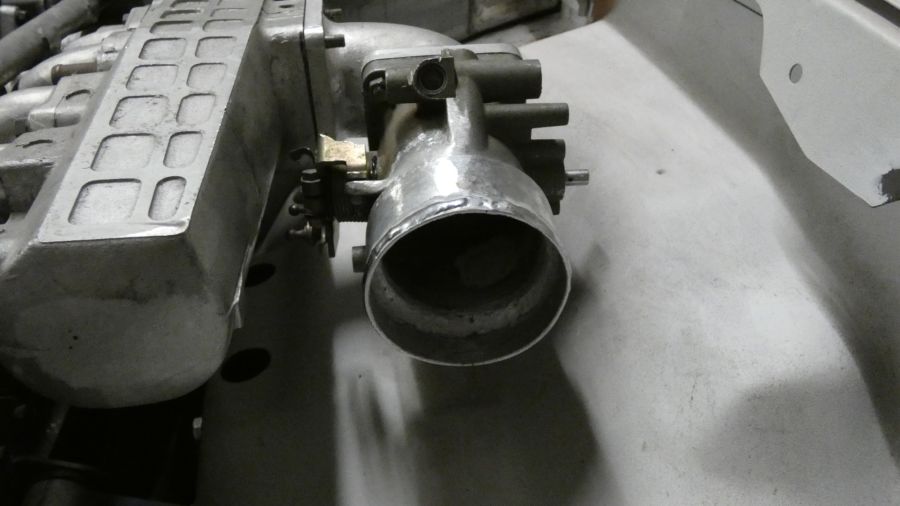
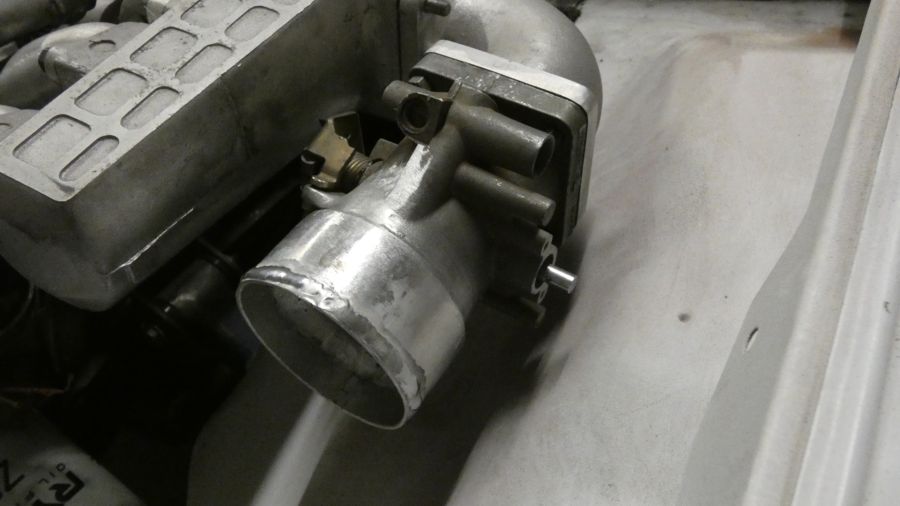
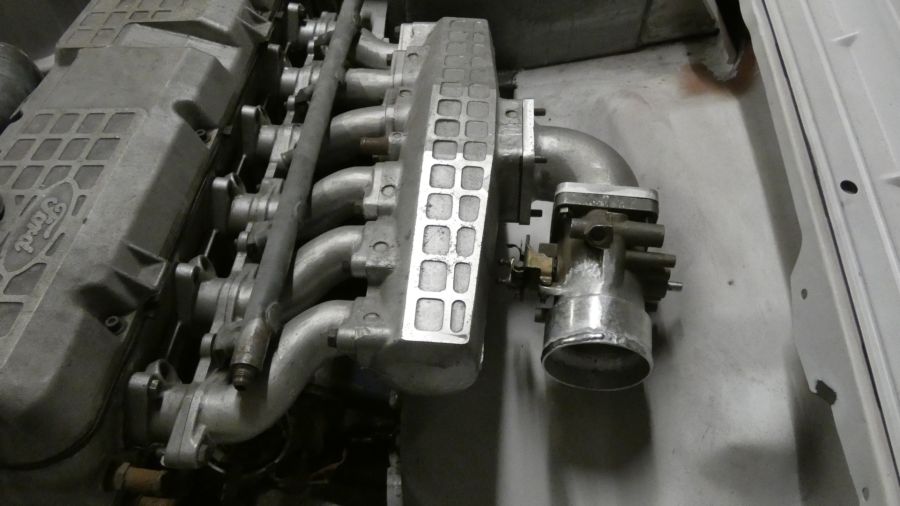
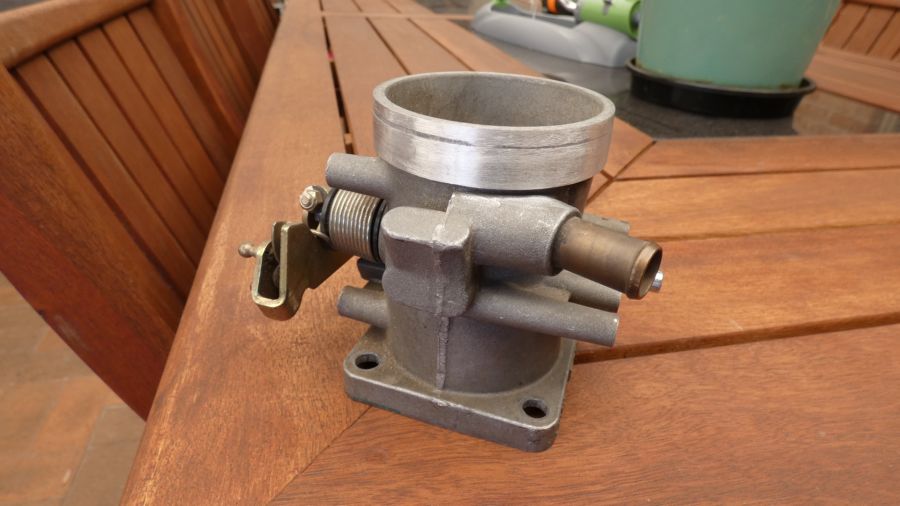
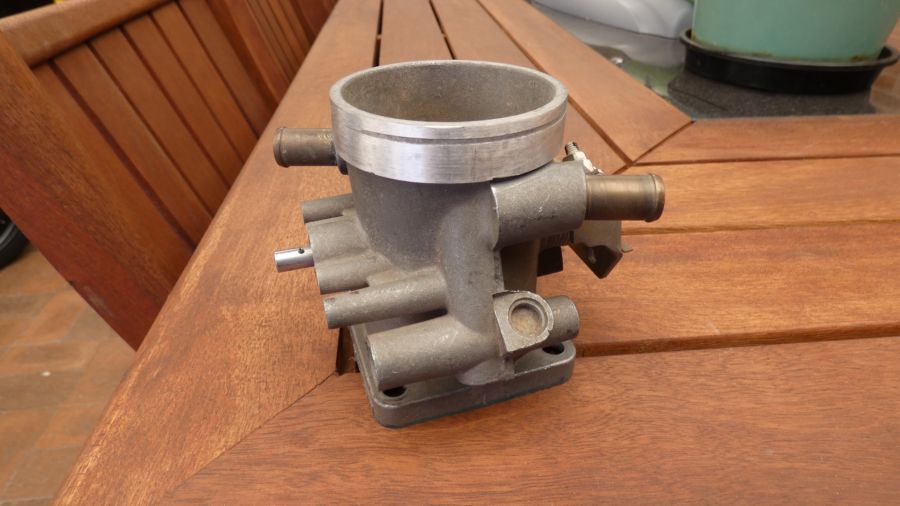
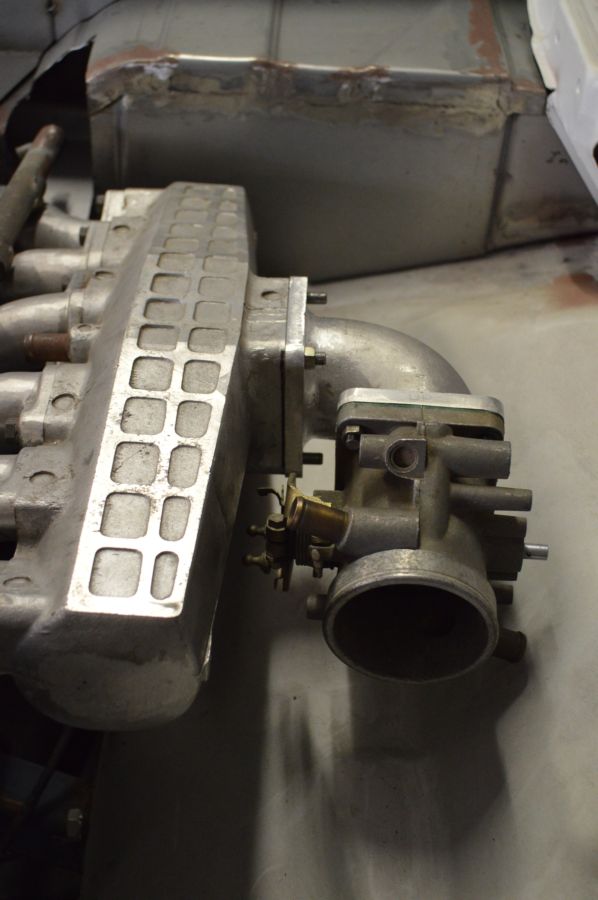
Did some modifying of the Throttle Body. It had these 2 pipes coming out of it which were for vacuum signal and sucking engine fumes from the rocker cover to the throttle body.
I deleted them and also needed to fatten up the inlet area as the silicone hose reducer was alittle loose for my liking. Plus the T-bolt clamp was wider than the standard lip area of the throttle body.
I ended up buying a small peice of 2mm thick alloy tube, sliced it in half cause the diameter was too small. Added 2 small filler peices and welded it onto the throttle body.
I added a bead of weld to the end of it so it stops the chances of the hose coming off
under boost.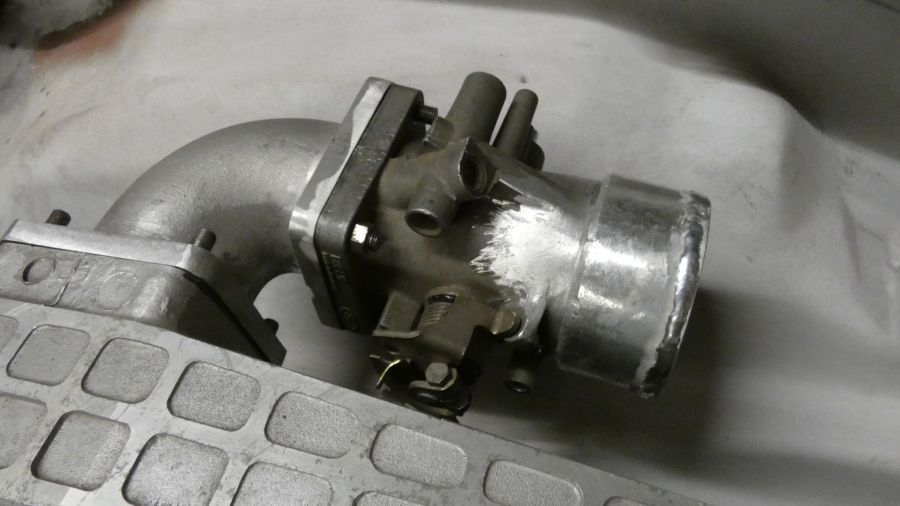
Next up, cooler piping and mounting the radiator
-
Hey guys, I want to know if I can remove the large pipes that come out of the the Throttle body. As in block them off. I just want to clean up the look of it. I'm will be running a Haltech ECU. Are these pipes needed for anything or where they just a polution control type thing that was used back in the day?
Thanks
-
I can do it myself. I have removed the end tanks as I need to shorten the rad by a few mm's to fit. So I thought maybe I should do it while I'm at. Just wanted to see if I needed to do it or not. If I don't need to then I can continue with my work, if I do then I have to order some 3mm alloy sheet and start cutting etc.
-
Question. I have an alloy radiator which will be going into a TF cortina. Intercooler infront of it. The rad is a 2 core. I'll be running a thermo and electric water pump. Currently the radiator is just in 1 end tank flow across and out the other. Will this be sufficient or should I make some dividers in the end tanks so that the water has to make 2 trips across the core before exiting out?
-
-
-
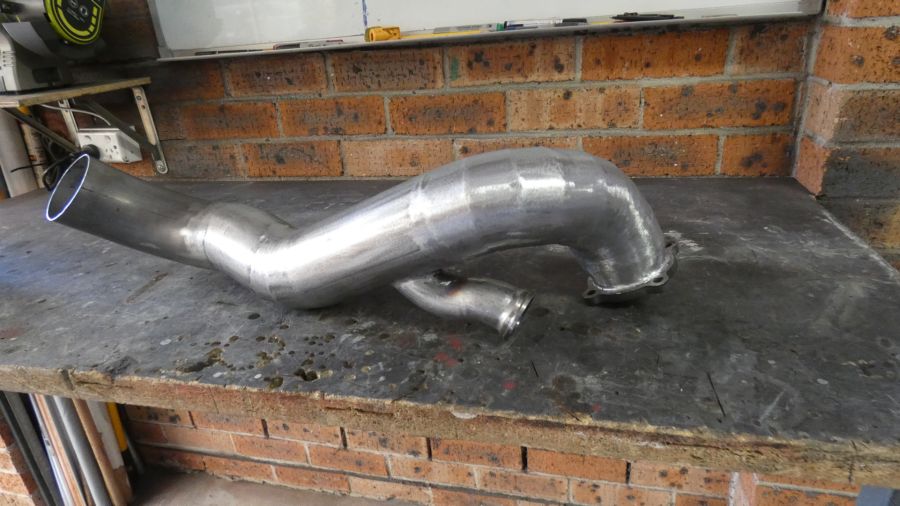
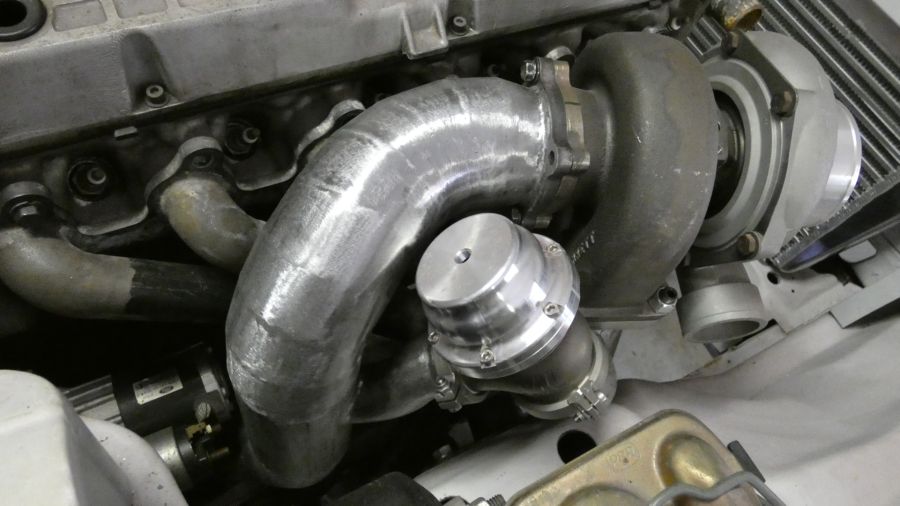
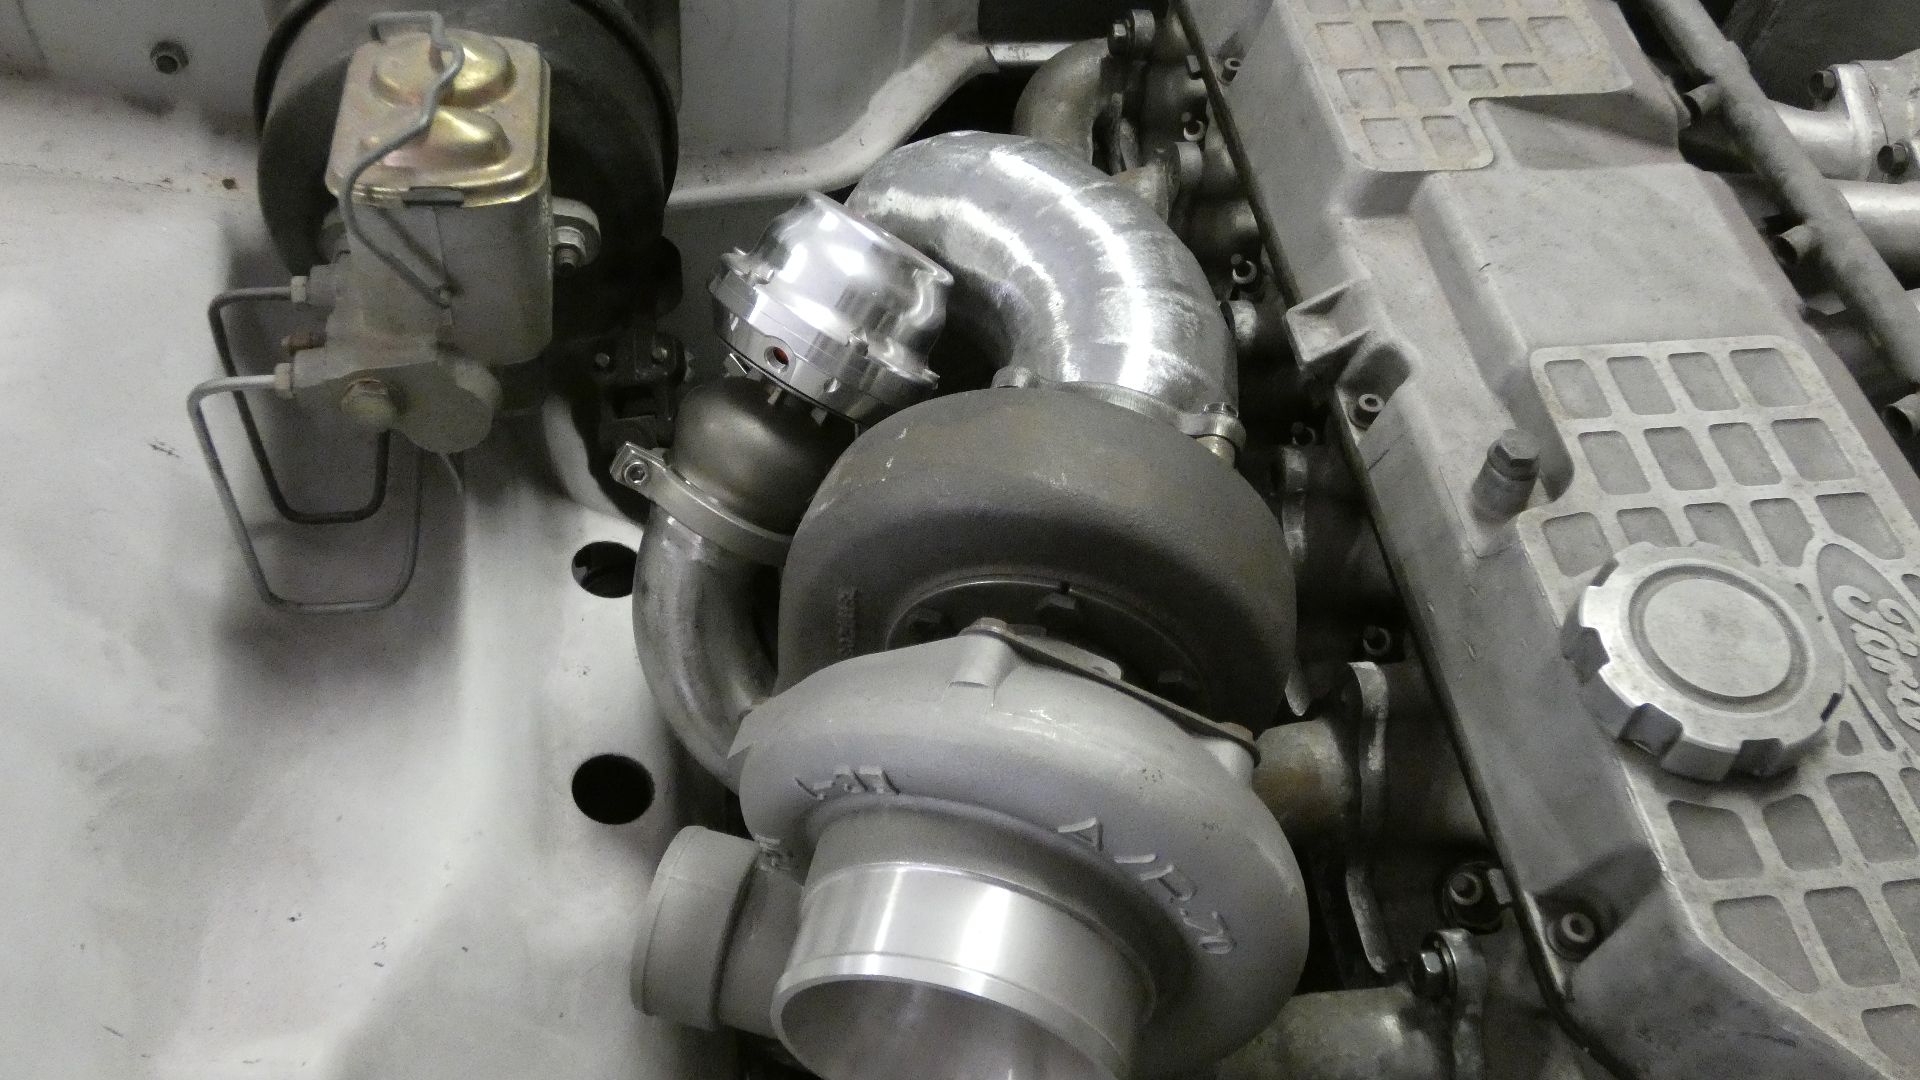
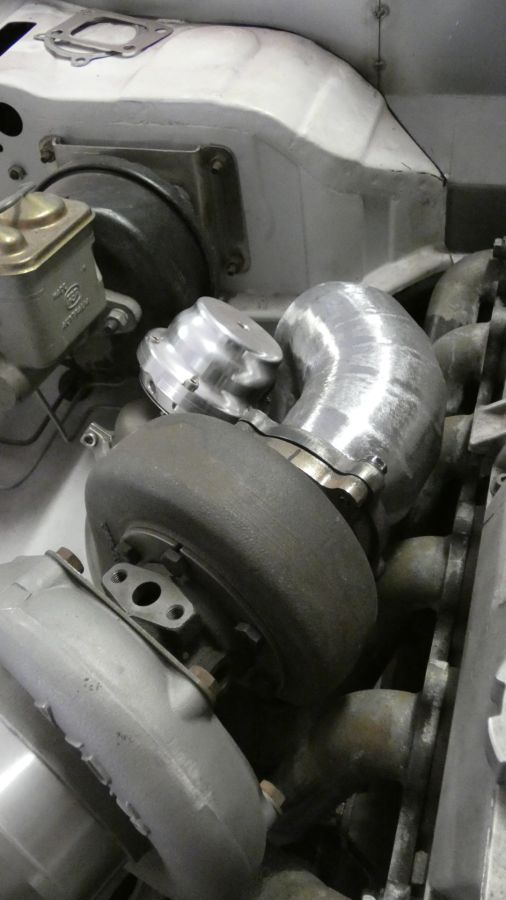
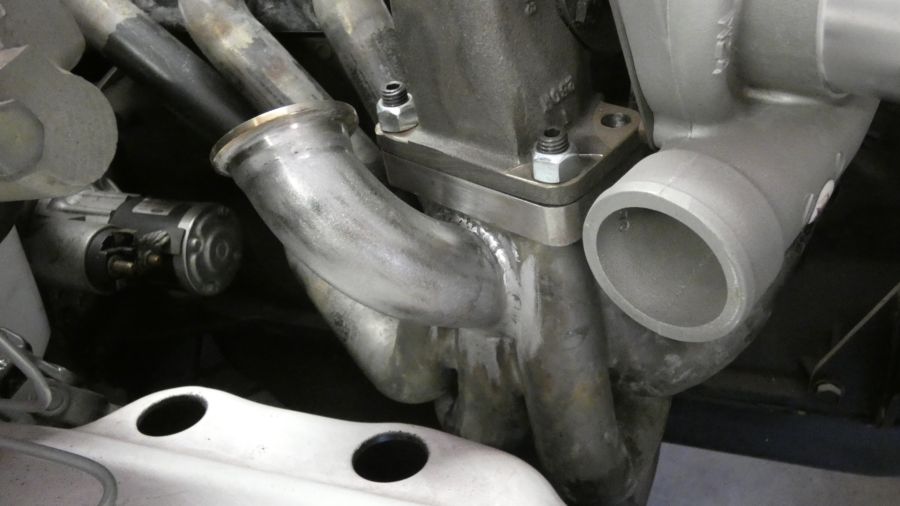
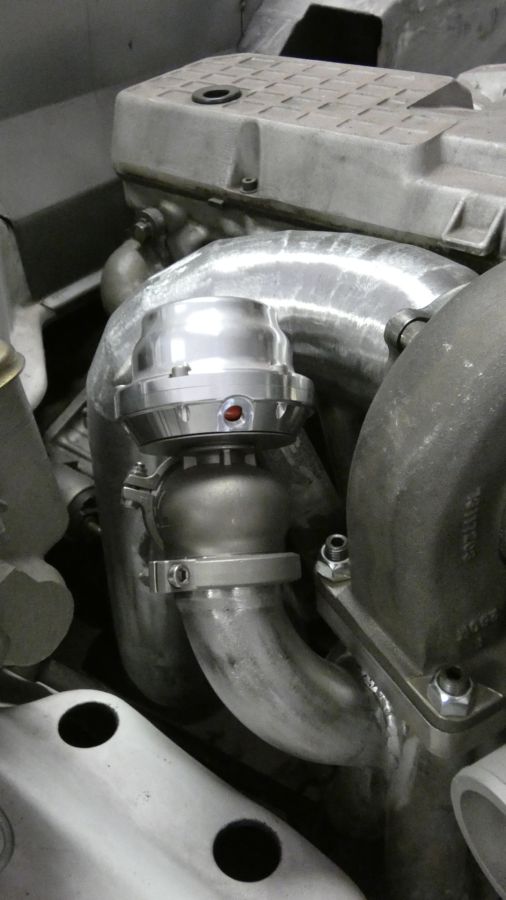
"On todays episode of Australian Cortina ...."
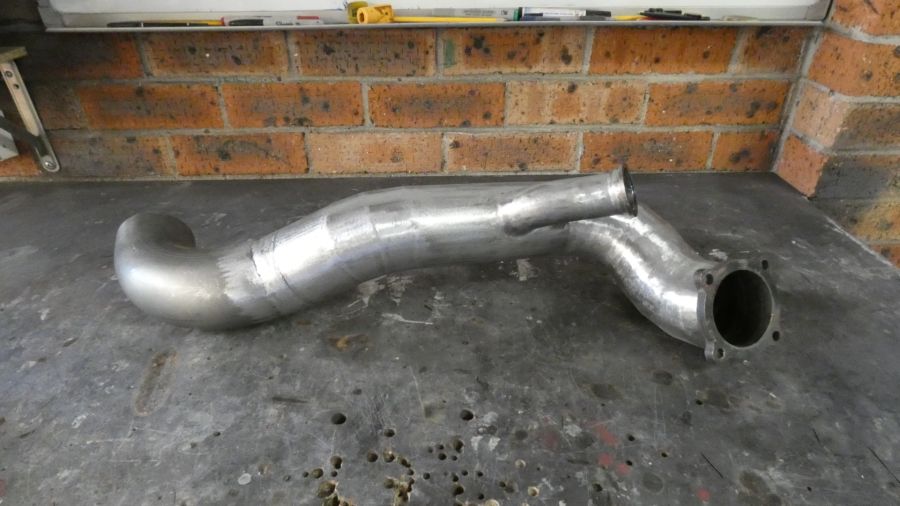
Bought some 3.5" mild steel exhaust pipe and a 90 mandrel bend. The bend wasn't tight enough for what I needed so had to make it all in pie cuts. Tig welded the lot and it turned out pretty good. Smoothed the welds off.
Got some smaller 90 bends for the wastegate pipes out of the turbo manifold and into the dump pipe. The Tial Wastegate came with the V Band clamps which was good. Worked out where to position it and welded the pipes in.
I'm gonna make a screamer pipe for it later so I can block off the dump pipe outlet and turn the wastegate and the screamer pipe will run down the side and into the trench I made before.
Next up, mount the radiator.
-
The youtube videos are a completely different ball game compared to the photos. Believe me the videos are much better
deankxf, Outback Jack and Valvebouncer reacted to this -
"On todays episode of Australian Cortina ...."
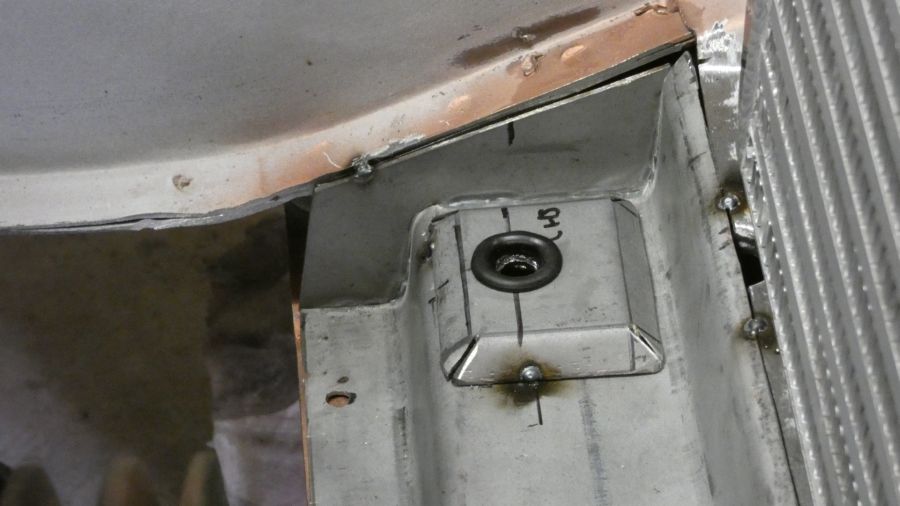
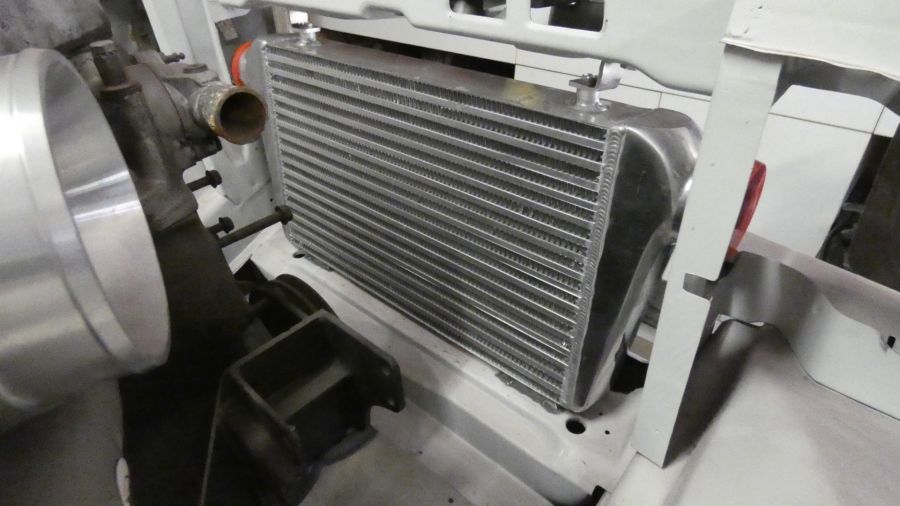
I bought a CX Racing intercooler a while back and I was at the stage where I could install it.
I had to cut some metal away from the support braces for the radiator support so that the cooler ends would clear as well as the silicone hoses.
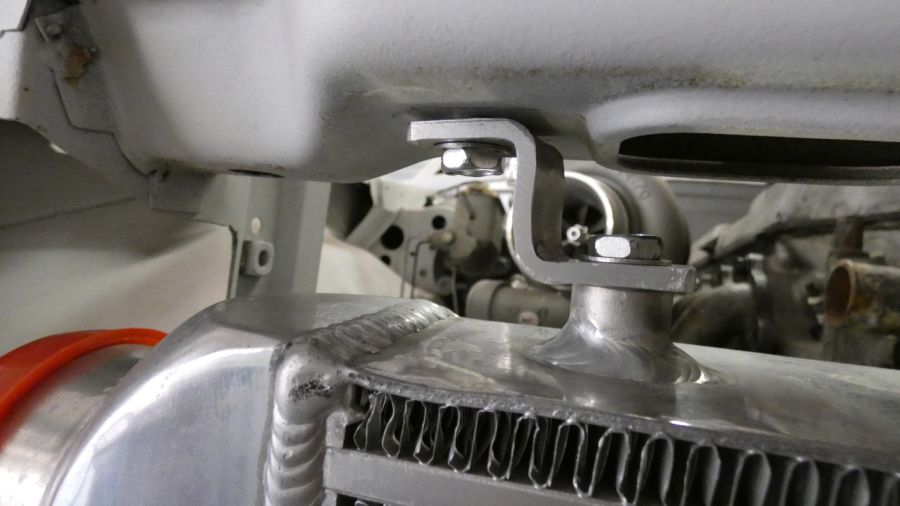
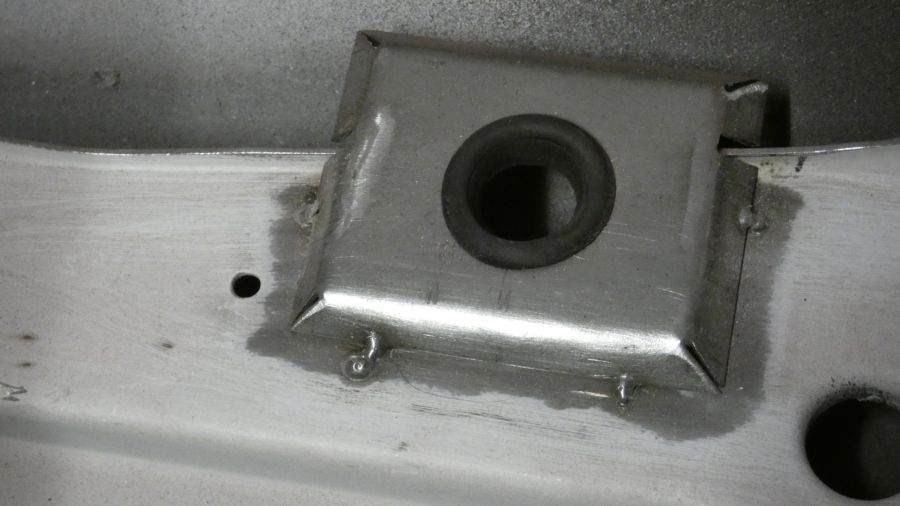
I made some pedestal brackets to mount the bottom bolt bungs into, so that it sits in place the same as a radiator would.
I used some 1" grommets so that theres no metal on metal on the pedestals. For the top I bend up some 4mm alloy into Z shapes and used some rivnuts to secure them to the bottom of the radiator support. Its solid as a rock and works a treat.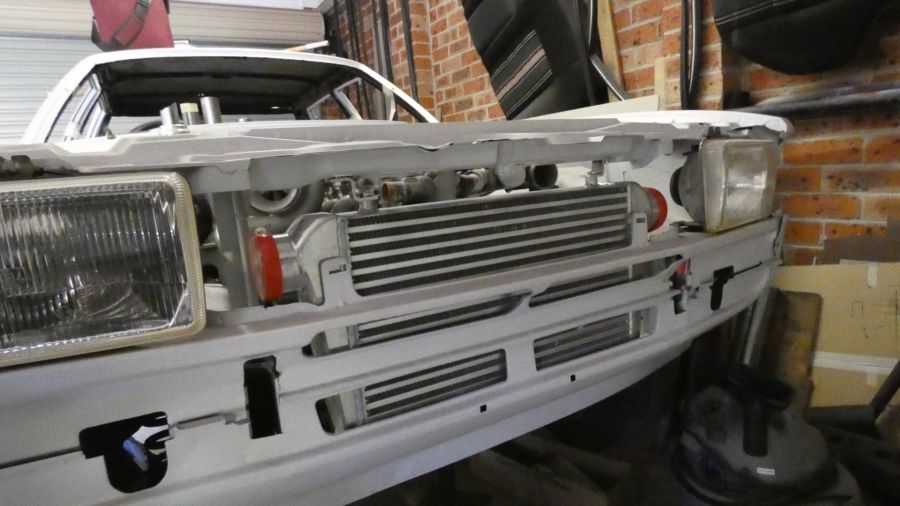

Next up, The dump pipe and wastegate pipes.
-
-
-
-
-
"On todays episode of Australian Cortina ...."
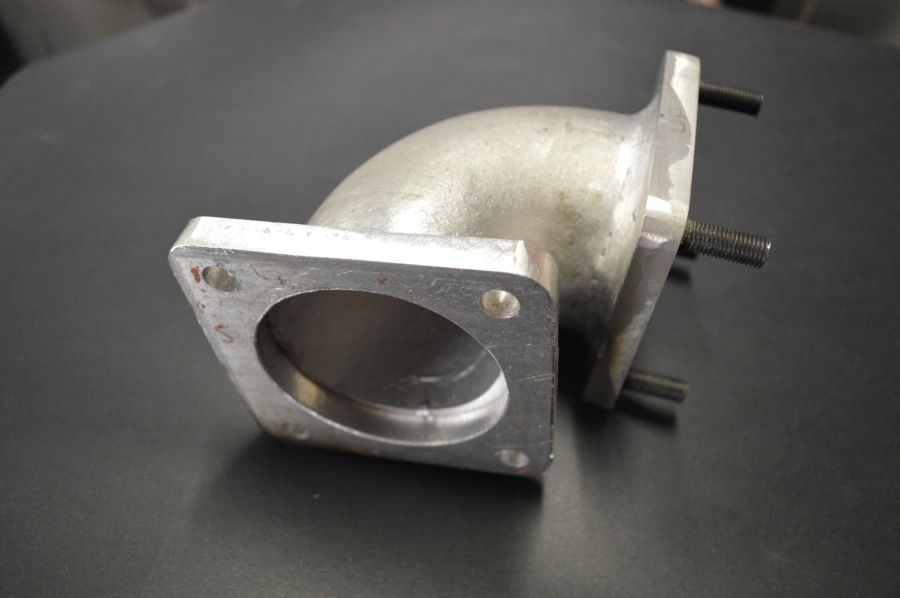
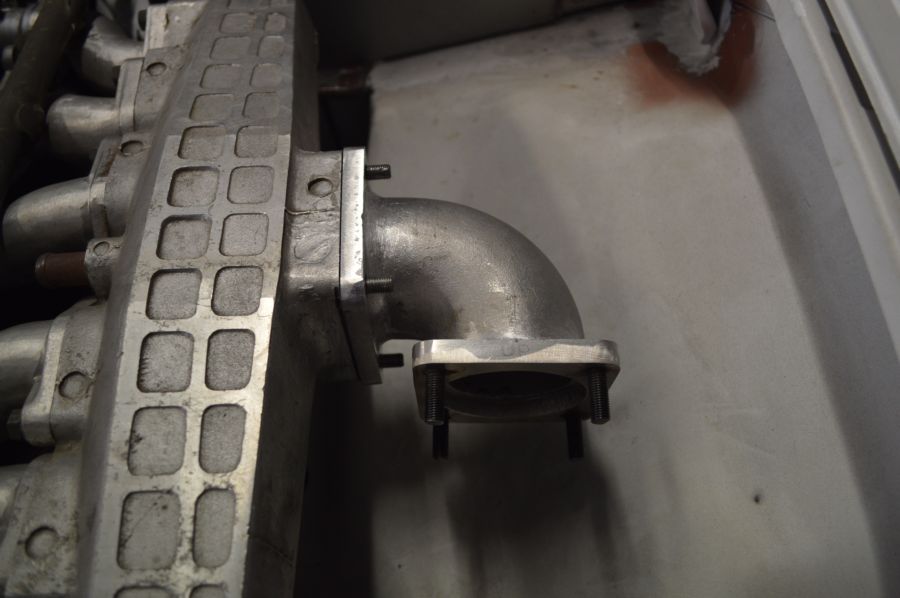
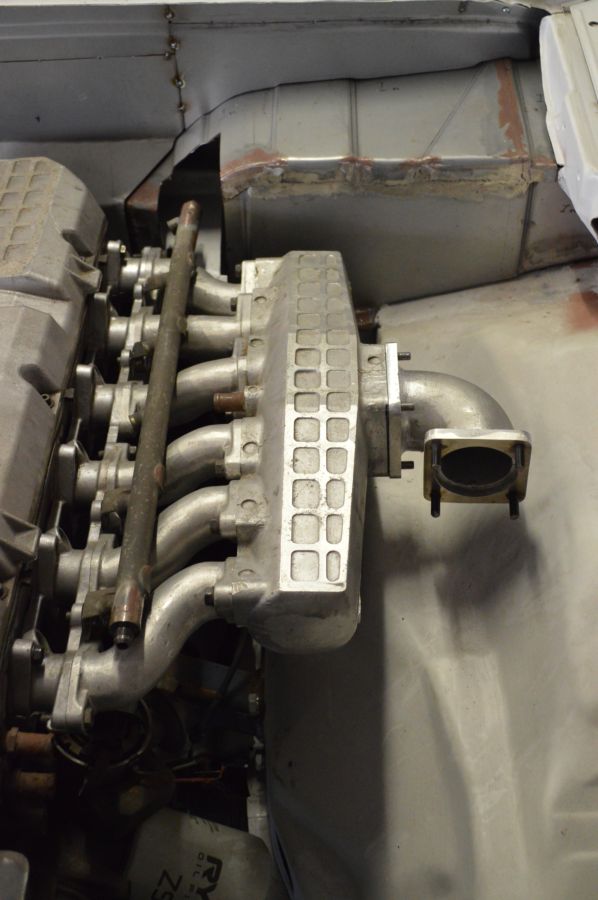
Made a Throttle Body Elbow. Bought some cast alloy elbow at the closest size I could get to the throttle body. Then bought some 10mm alloy plate. Designed some templates out of cardboard to great the flanges. Took quite a bit of work to shape these. Between hole-sawing the centre holes and cuting it out and filing them to shape. Then Drilling and taping threads to suit some grub screws which I then cut down as they were too long.
Once the flanges were made, I had to make a small cut on the elbow peice and tigged the lot together. Then filled smooth the welds to give it that factory cast look. Needs alittle filler welding here and there but otherwise its done. I'll also weld the inside lips and burr them smooth to give a smooth transition for the air.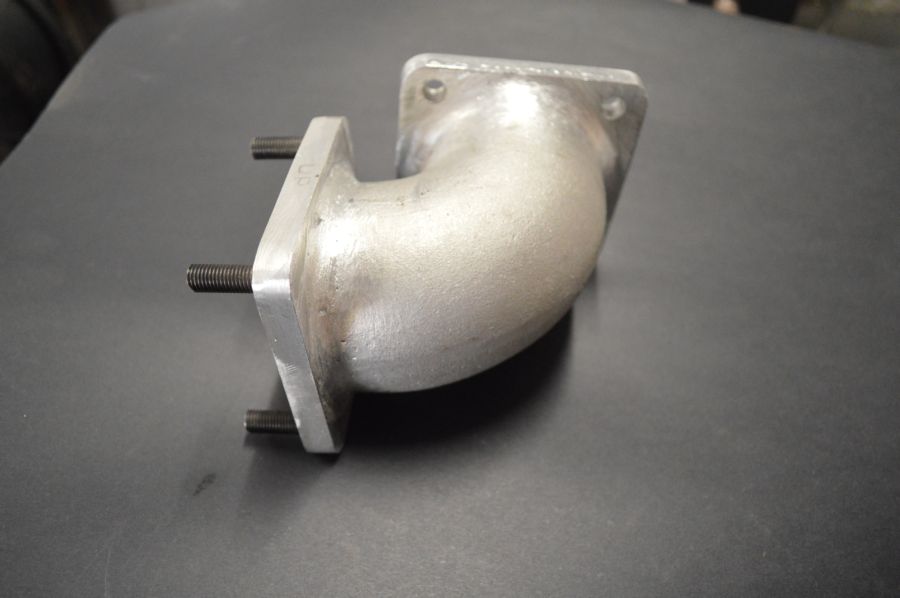
Next up, I'll either mod the Throttle body and have it ready to go with all its fittings etc or make a start on the Dump Pipe.
-
Haha, more like my ass isn't gonna know what hit it everytime I plant the accelerator
-
"On todays episode of Australian Cortina ..."
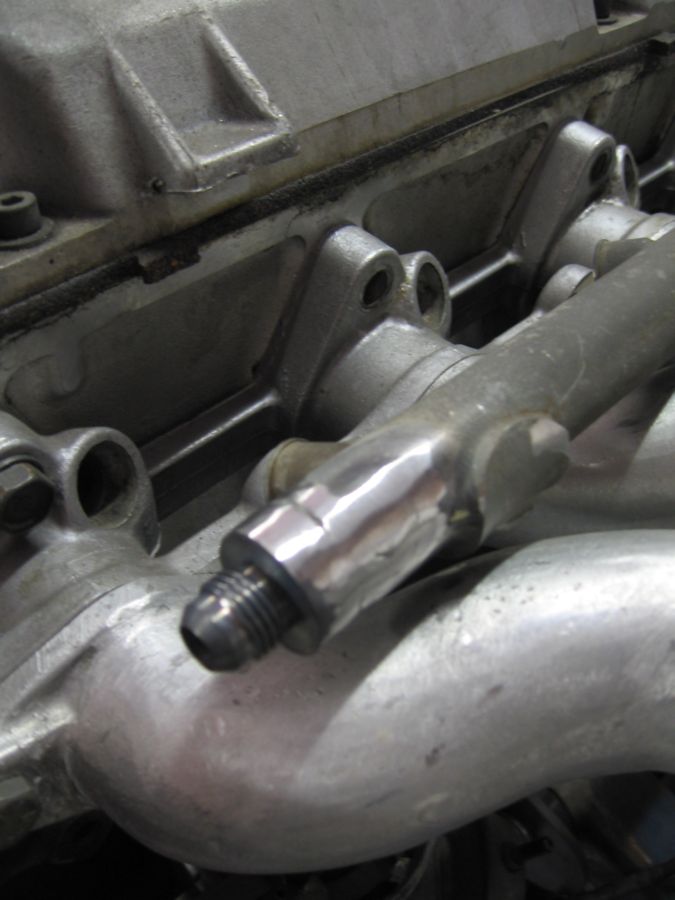
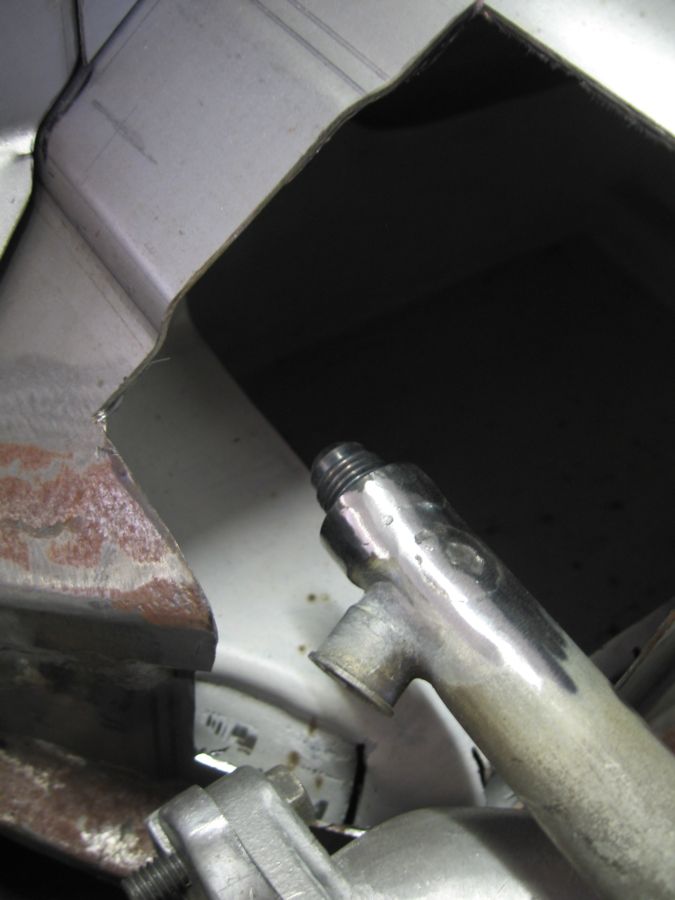
Managed to finish modding the fuel rail. Cut off the old feed and return pipes and blocked them off with very small peices I cut out and tigged on.
Cut the 2 ends off and welded on some weld on male bungs. Turned out really good. Will probably re-tig weld the slight sink back that the weld left behind and regrind it to make it look smooth and factory.
Another peice to the puzzle.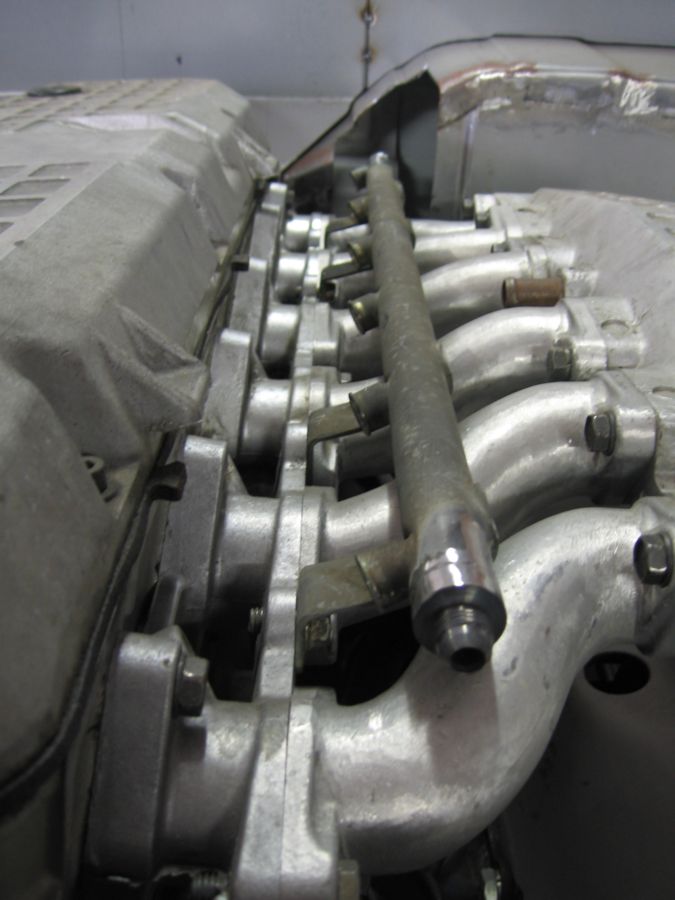
Next up, finish the throttle body elbow.
2redrovers and deankxf reacted to this -
"On todays episode of Australian Cortina ..."
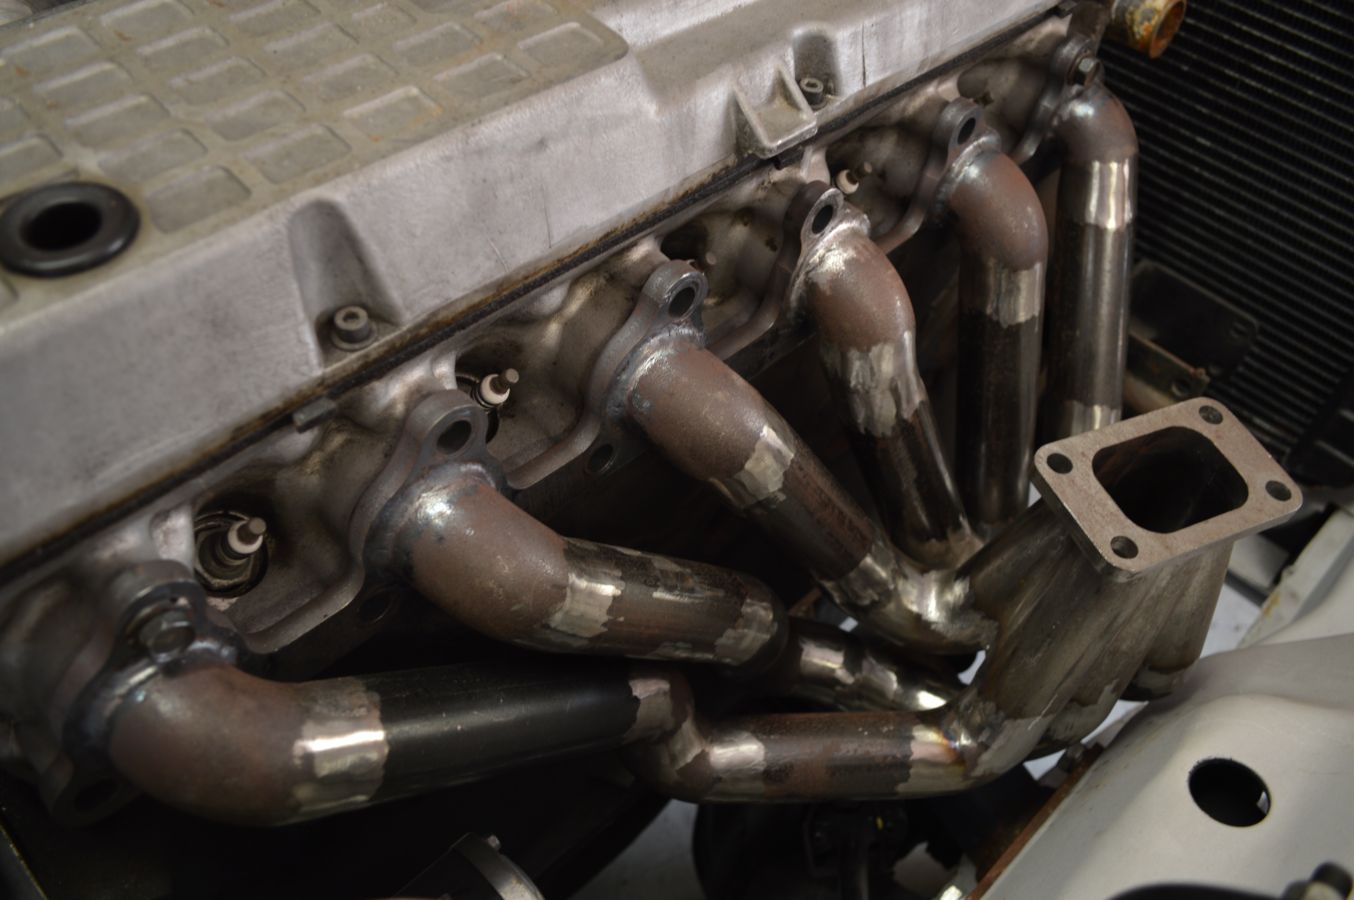
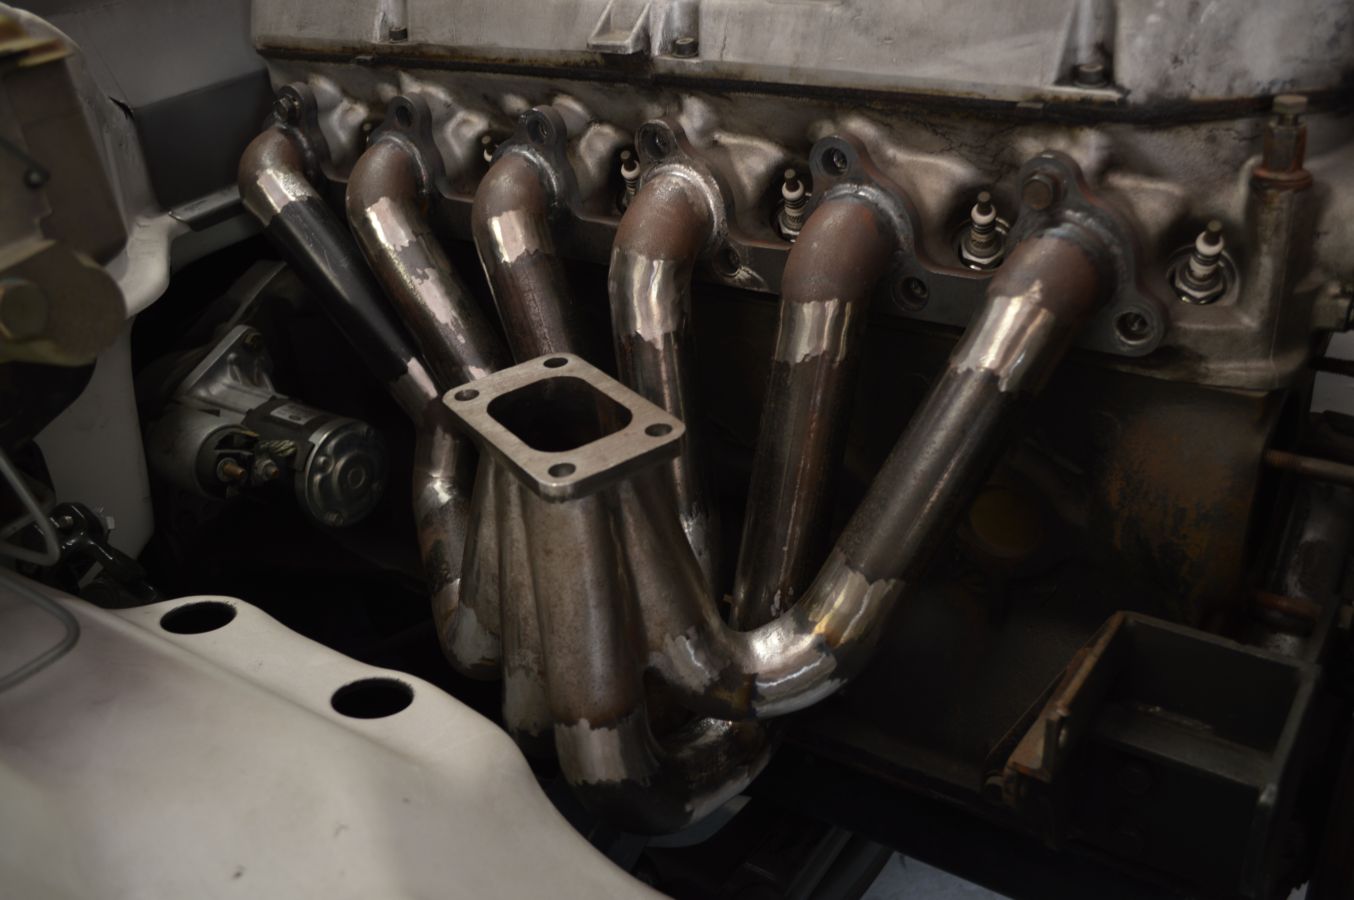
Finally finished full welding the turbo manifold. I made it harder for myself (rookie mistake) because I didn't allow that much pipe coming off the header flange plate. So getting the tig into the back of it was really tight. I ended up having to buy a long thin alumina cup and that got the job done.
For added security and to smooth off the outlet I welded the header flange to pipe edge from the inside of the pipes also as the pipes were just alittle smaller than the header plate port sizes.
I smoothed all the welds off and it should look the goods in heat coating once I'm all done.

The lack of updates is of course due to me being flat out with Tough Garage jobs now. But its good when I find a spare moment here and there to work on my own car.
Next up, pressure test the intake manifold, make the throttle body elbow, mod the new fuel rail, make the dump pipe and external wastegate outlets. Should be fun.
-
Sorry mate, no engine pics, yes its running a C4.
-
-
Thought I'd share a project I'm working on for a customer. See it here at https://www.facebook.com/ToughGarage

TF Cortina Project
in Cortys and Eskys
Posted
"On todays episode of Australian Cortina ...."
I bought a set of EL Falcon thermofans and after much trimming and cutting of the shroud, along with some plastic welding of spare plastic to create a new shape on the sides, it now fits.
Next up, alternator and electric water pump